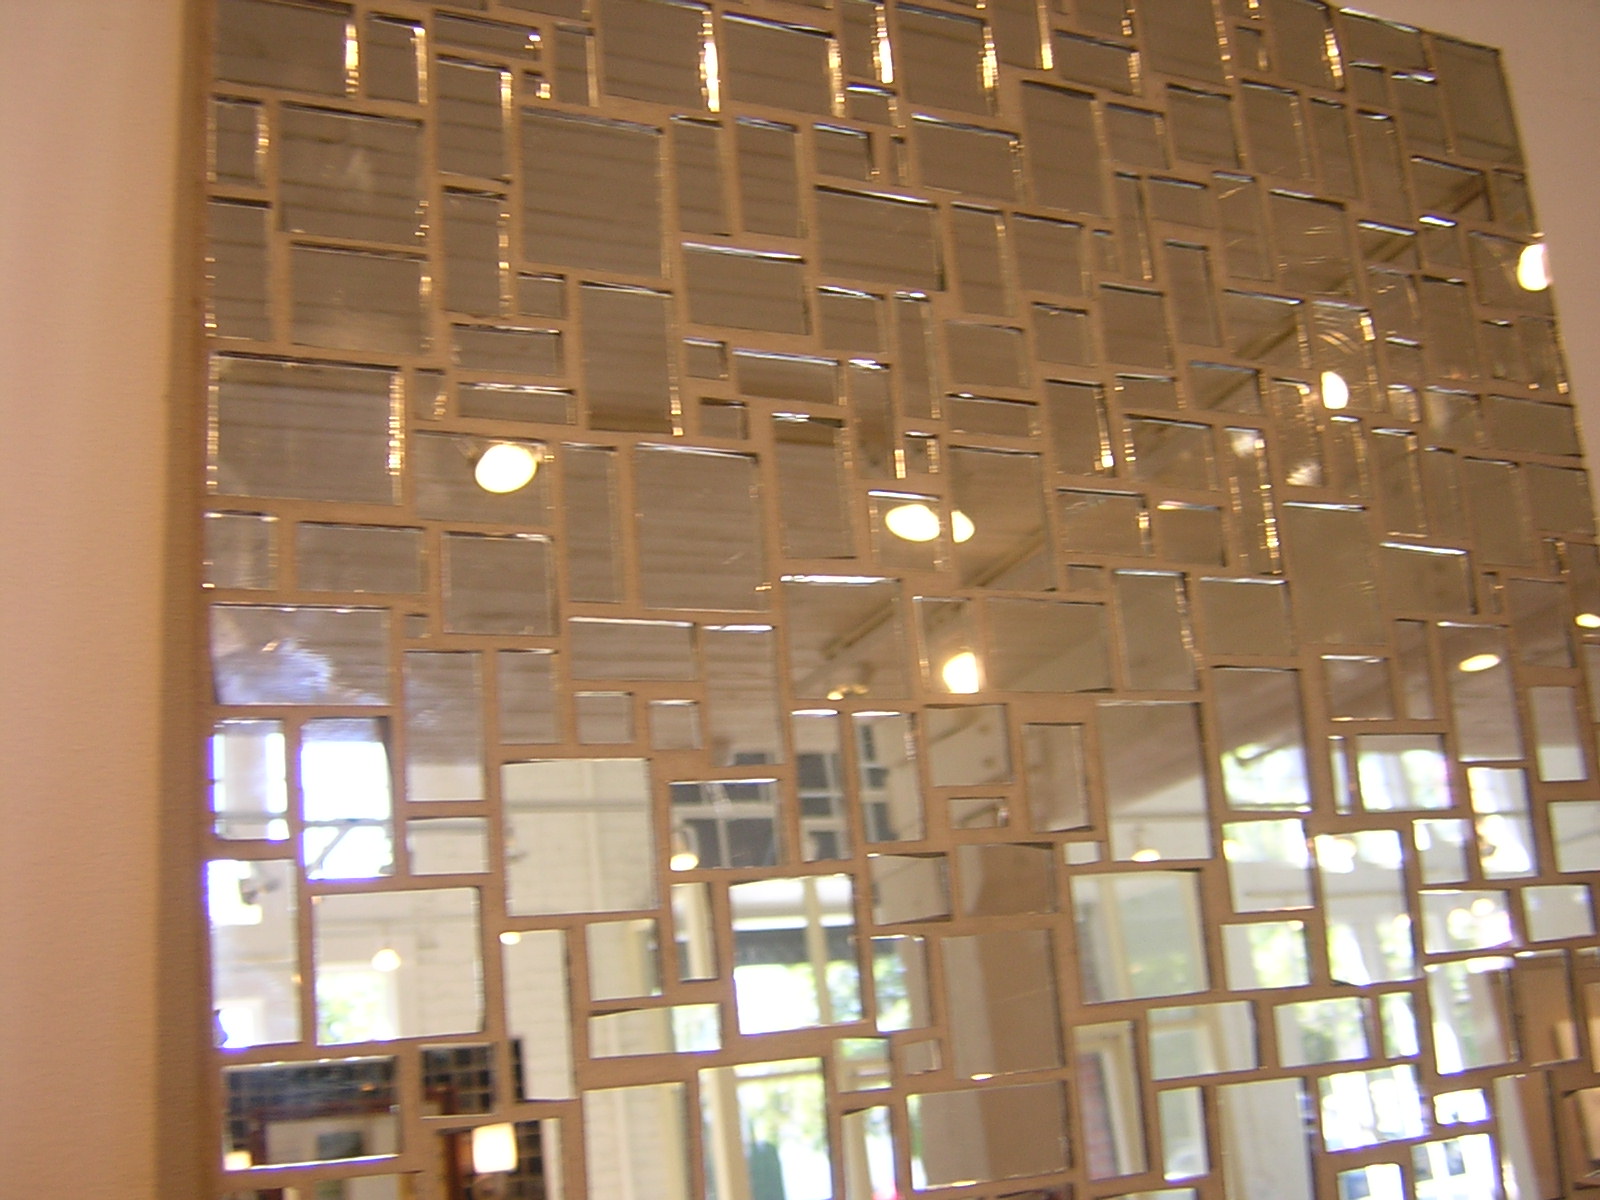
The simplest method of providing a large mirrored area is to fix mirror tiles. These are made in two thicknesses 3mm and 4mm and are available in a wide range of sizes. The quality is superior in the thicker 4mm tile and it might prove a false economy to buy the thinner version, since the surface of the glass is more inclined to flake. Each tile has self-adhesive tabs stuck to the back; once the protective paper is removed from the tabs, fixing is simple and instant. Before you start fixing, you must prepare the surface onto which the tiles are to be stuck. Any surface which is not perfectly flat will cause the tiles to lie in an uneven plane, which will result in a distorted reflection. Plaster surfaces are particularly bad since they are seldom perfectly flat. Although the tabs will stick effectively to painted or untreated plaster unless the paint is badly flaking – it is advisable not to try it if a perfect surface is required.
Fixing to board
Mirror tiles are best stuck down to a suitable board such as plywood or chipboard. The thicker the board the better, since there is more chance of achieving the perfect flatness you require. For a really uneven wall surface use an 18mm thick board; don’t use board less than l2mm thick, even on a wall which looks true. Screw the board in place using the appropriate wall plugs and countersink the heads of the screws slightly below the surface of the board. The screws should be about 450mm apart around the edge and across the surface of the board. Don’t drive the screws in tight, but stop just as the screw begins to bite into the board; an over-tightened screw in a depressed part of the wall will cause the board to follow the depression and lose its flatness. This is more likely to occur with thinner board.
Setting out tiles
This is an important stage and should be done with care. Individual tiles are seldom cut with perfect accuracy and can vary slightly. Over a large area this variation can be cumulative and result in a poor finish. Wherever possible set out the tiles loosely on the fixing board before it is screwed to the wall; you will finally fix them into place starting at the bottom and working upwards. When the tiles are set out squarely to your liking, number each tile, using a small piece of adhesive tape on the face of each, and write these numbers in the same order on the board. Fix the tiles in place so the numbers correspond. Fix them into place in the same order and you will be sure of a perfect run of joints.
Fixing tiles
When fixing take care to note the exact position of each tab on the back of the tile. Remove the protective paper and place the tile in position on the board, applying light pressure to each tab in turn. Avoid applying pressure to the tile between the tab positions especially when using thinner tiles – since this might break them. If you make a mistake and have to remove a tile, use a thin broad bladed knife and try to slide it beneath each pad in turn. Don’t try to lever the tile away or you will break it. New adhesive tabs can be stuck into place on the back of a mirror tile if the original one has to be removed. These tabs have strong adhesive and work effectively the first time on most surfaces. As a safeguard on porous boards, brush away any dust and apply a thin coat of impact adhesive to correspond with the tab positions. Allow this to dry thoroughly before bringing tabs into contact.
Care must be taken in areas where there is excessive moisture; bathrooms are particularly prone to heavy condensation. Never use a porous type chipboard as a backing for mirrors or mirror tiles in these conditions, since rot will set into the chipboard, causing mould and damaging the silvering of the mirror. Use a resin-bonded plywood and check edges are thoroughly sealed with primer.
An air space of at least 3mm ({in) should be left between the flxing surface and the back of the mirror; with tiles the tabs determine the space.
