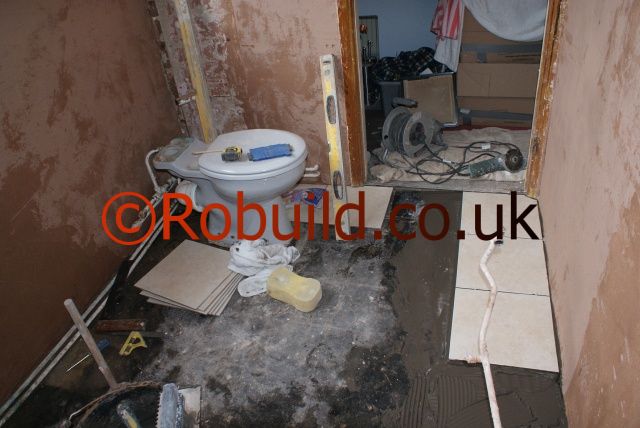
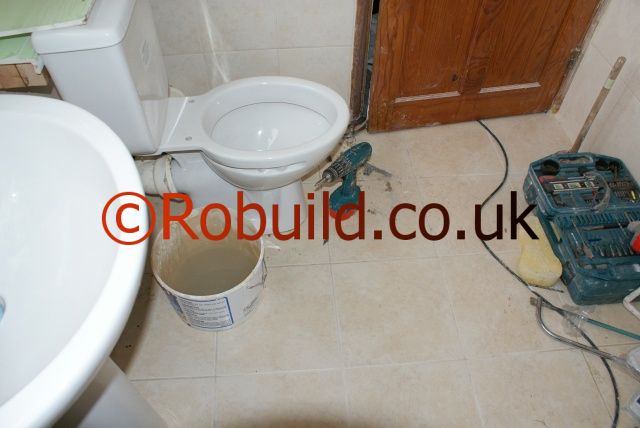
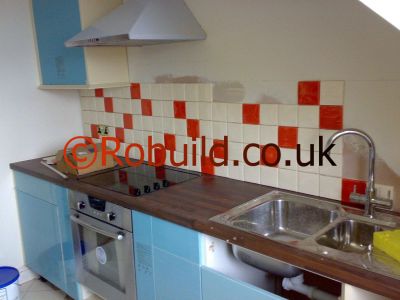
Traditionally ceramic tiles have been used to cover areas around basins, baths and sinks, where splashing is likely to occur. But they are also very practical for covering floors. Now that central heating has taken the chill from ceramic floor tiles, people are beginning to appreciate their hard-wearing qualities and easy maintenance. Provided it is correctly laid on a properly prepared sub-floor, ceramic flooring has good resistance to impact and general wear and high resistance to crazing. It only needs to be swept regularly and washed from time to time with water and detergent. Stubborn stains can be removed from this type of tile with a household abrasive or paint brush cleaner.

Types of tiles
It is essential to use only flooring grade tiles – wall tiles are much thinner and would break under pressure. Flooring tiles are available glazed or unglazed. Glazed tiles come in a wide range of colours and patterns and some have a roughened glaze to make them slip-resistant. Unglazed tiles are produced only in plain or mottled colours; but they are the most durable form of tile and are available in a range of anti-slip surfaces and also coving tiles to provide a clean curve from floor to wall. They are more difficult to cut than glazed tiles, but you can hire or buy a special tool for cutting them. Tiles are made in a variety of shapes, square ones being the easiest to lay. Always buy six or so extra ones for cutting in or in case of breakages. Mosaic tiles are small squares of glazed or unglazed ceramic covered with peel-off sheets 305mm square which you remove alter laying.
Preparing the surface
It is essential to lay ceramic tiles on a clean, dry, level surface; any distortions may cause the tiles to move and crack under pressure. They can be laid on a solid floor of concrete or existing hard flooring such as terrazzo or quarry tiles or on a suspended timber floor. But in each case the floor needs some preparation before the tiles are laid.
Concrete
The concrete must be dry, clean and flat. Tiling will not cure damp, so if the concrete is letting moisture through, 1ay a damp proof membrane and screed. Fill any small depressions in the concrete with sand and cement, using a mixture of three parts washed sharp sand and one part cement and make sure you level off after filling. If there is a slight fall-away in the surface in any direction, correct it with a concrete levelling compound. A badly depressed surface should be levelled with a waterproof screed. Chip away any small nibs of concrete and sweep the surface thoroughly.
Hard flooring
Tiled or terrazzo floors should be flat and firmly fixed. Remove any traces of grease or polish and make sure it is dry before you start tiling. Any loose sections, such as a loose quarry tile, should be securely glued back in place.
Timber floor
Make sure there is adequate ventilation below the floorboards to prevent rot forming alter tiling. Don’t lay tiles directly onto a suspended timber floor made of tongued and grooved boards since the movement of the floor would cause the tiles to shift and crack. Make the floor more stable by covering it with sheets of plywood at least l2mm thick, fixed at 300mm intervals with countersunk screws. If the floor is likely to be splashed with water, such as in a shower area, use exterior grade plywood. When all existing floorboards have to be removed, due to rot for example, you can screw flooring grade chipboard directly to the joists and lay tiles on this. Use screws for fixing sheet flooring since nails cannot be relied on to hold the material securely in place once the tiles have been bonded to them. Make sure the panels butt closely together; if any small gaps do appear, pack them tightly with a filler or the floor tiles may crack along the joint lines due to movement on the sub-floor. Before laying tiles over plywood or chipboard, always brush the surface with a priming coat; most manufacturers recommend a water-based polymer for this purpose. The primer must be properly dry before you begin tiling, so leave it overnight.

Working with adhesive
Manufacturers recommend a cement-based powder adhesive which can be used as a thin or thick-bed adhesive. Use a thin bed of about 3mm for flat-backed tiles; if the tiles have studs on the back or there is a slight unevenness in the floor (test with a straight-edge), use a thick bed of about 6mm. For thin-bed fixing, you will need about 3.5kg of adhesive per square metre.
Allow double this quantity for a thick bed. There is also a bitumen-based adhesive which can be used for thin-bed fixing. Cement-based adhesive can be used on concrete or timber floors, but it is not suitable on concrete which has not fully dried out or on ground floors which are affected by damp. In these cases, and for areas subjected to prolonged soaking with water (such as shower floors) use a waterproof adhesive. Always mix the adhesive according to the manufacturer’s instructions.
Setting out the tiles
The best way to set out tiles is from the centre of the room so you have an even border all round the edge. To find the centre, mark the halfway point on the two pairs of opposite walls and stretch a piece of string (preferably chalked) between each set of marks. Ensure the strings cross at right-angles and secure the ends with nails or pins. If the strings are chalked, pluck them to leave marks on the floor. Before fixing down any tiles, try out the layout with dry tiles. Lay one row of tiles in each direction from the point where the strings cross. If the space remaining at the end of a row is less than half a tile, adjust the string lines half a tile off centre to give a bigger space for the perimeter tiles. This will give a balanced border and avoids having to cut narrow pieces of tile. Check the door will open over the laid tiles; if not, remove the door and trim the bottom edge with a block plane.
Fixing the tiles
Tile one quarter of the room at a time, starting with the section furthest from the door and finishing at the door. Starting from the centre, spread the adhesive evenly over the floor with a notched spreader, which is often supplied with the adhesive. Don’t cover more than 1sq at a time. Place the tiles in position, starting in the angle of the chalked lines. Don’t slide them into place or adhesive will build up against the front edge of the tile. When laying studded tiles on thick-bed adhesive, spread a thin layer of adhesive on the back of the tile to ensure a solid bed when it comes into contact with the adhesive on the floor. Most tiles have spacer lugs to ensure the distance between each one is correct; if yours do not have these, place pieces of card or matchsticks between the tiles to give a space of 3mm. Remove any adhesive that oozes up between the joints (to leave space for grouting) and clean off any adhesive on the tiles before it sets. Tile each section of the room in turn, leaving the border until last. If you need to kneel on the tiled area while working, place a board across it to avoid damaging or disturbing the tiles.
Cutting border tiles
To cut a tile for the border, lay it face down on top of the last whole tile and slide it forward so the front edge butts against the wall. Mark the back of the tile at each side where the edge of the last tile finishes. Place it on a firm, flat surface and join up the two marks, using a straightedge as a guide. Score and cut the tile along this line with a tile cutter. The front section of the cut tile will fit neatly in the gap.
Cutting corner tiles
Place a new tile face down over the last whole one near the corner. Place a second tile on it, slide it flush to the wall and mark its edge on the tile below. Then move the marked tile to the last whole tile round the corner without turning it. Place the second tile over it, butt it against the wall and mark as before. Score and cut along these lines and nibble the corner away with pincers or tile nippers to give an L-shaped tile which will fit round the corner. Take away only very sma1l pieces at a time; if you try to cut too much at once, you may break the tile. When you have cut the shape you want, smooth the rough edge with a carborundum stone.
Cutting shapes
To cut curved shapes, use a contour tracer or make a template and scribe the outline onto the tile. Then nibble away the tile with pincers or tile nippers as before. To fit a tile round a pipe, cut the tile in two where the pipe falls, cut out a semi-circle from each piece and fit them round the pipe. When tiling round a WC or wash-basin pedestal, lay full tiles as far as possible round the pedestal. To avoid having to cut very narrow sections you may have to adjust the layout when setting out the loose tiles. Cut a template for each tile, using a contour tracer to mark the curve and with this cut the tile; lay it in place before making a template for the adjacent tile. When all the tiles are cut and smoothed, fix them in position. Remember to leave enough space between tiles and pedestal for grouting.


