Tiling walls and floors

Setting out the work
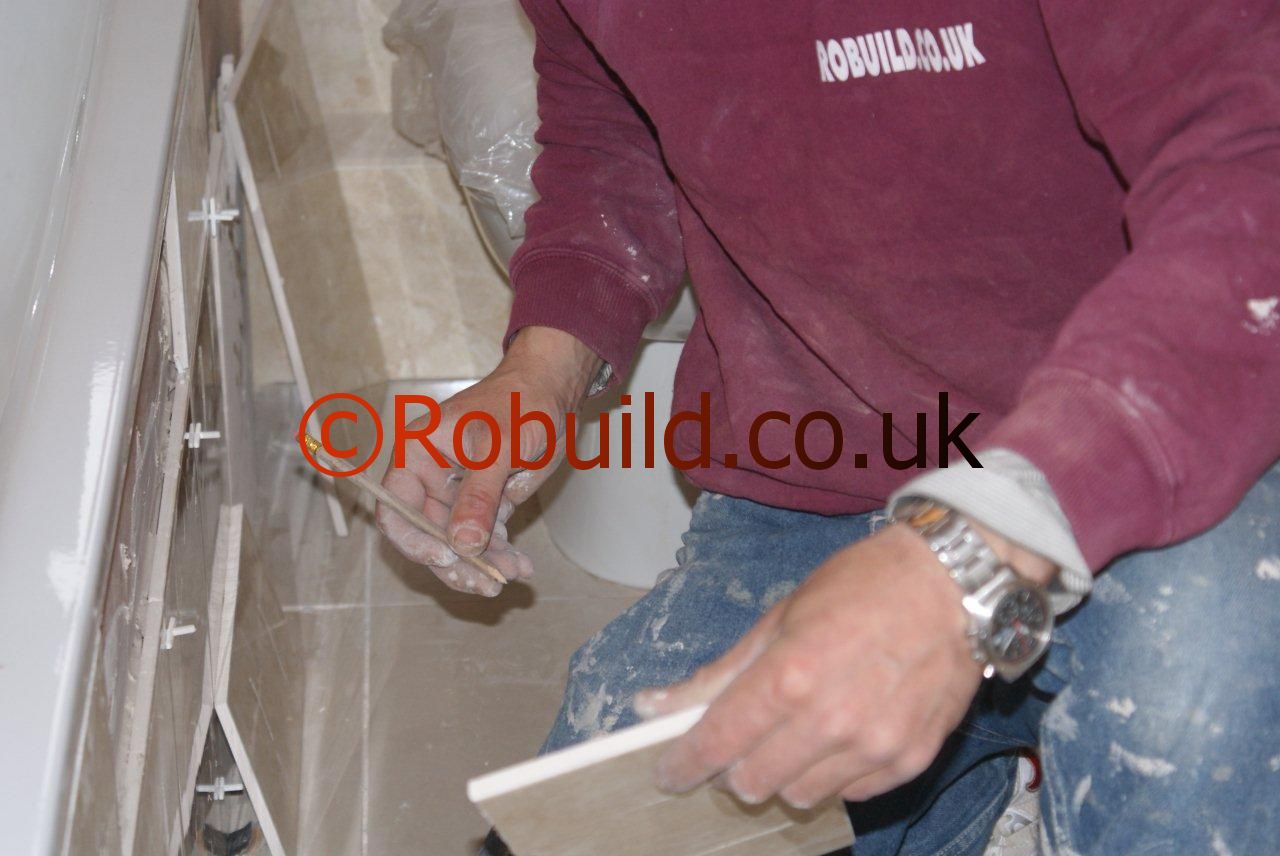
If you are tiling the walls, remember that most floors are slightly out of level. So use a lath or batten as a base line because if you start from the floor or skirting board, you may find the tiles go out of true. First measure the height of a tile, including its spacer lugs, from the floor or skirting board. Fix the top of the lath or batten securely along this line to the length of the area being tiled. Check its accuracy with a spirit level. Take one tile, stand it on end, and run it along the floor beside the batten to make sure the batten is not too high-you do not want to fit tiny silvers of tile at the bottom if the floor is uneven. If the batten is too high, lower it, and then re-level it with the spirit level. Next, mark out tile widths on either side of the centre point of the wall. This will give an equal tile cut at the ends, and should avoid having to make very short awkward cuts. Mark a true vertical line at the end of the wall, corresponding with the outer edge of the last full tile space. Now repeat the procedure on any walls which meet the first one. But this time, if the wall length does not match an even number of tiles, try to space them to avoid finishing with two very narrow pieces in the same corner. And see if you can have complete tiles on either side of window reveals as it will save cutting. You start work at the intersection of the batten and left-hand vertical line, beginning with the bottom row and working upwards. ‘Obstructions’, such as sink units, window reveals, and half cuts for the corners and top of the wall, are left until last. If you are tiling the floor, the tile positions are set out with chalk lines, and you start tiling in the middle.
Fixing the tiles

Apply the adhesive to the wall or floor, rather than to the tiles, as this is easier and cleaner, and will give a more even surface. Use the spreader or trowel to spread it on the surface to a depth of half inch, covering only about 1 square yard at a time. If you apply more than this, it will dry out before you have tiled it. With the serrated edge of the spreader, drive the adhesive over the surface to form ridges which will give good suction and adhesion to the tile backs. For awkward areas, and part tiles, the backs of the tiles may be ‘buttered’ by spreading the adhesive on to them to a depth 2mm. Press the tiles firmly into place, without sliding them this would merely remove the adhesive from the wall or floor. Any adhesive which squeezes on to the surface of the tiles can be removed later with a damp cloth. Between each application of adhesive, check the horizontal and vertical alignment of the tiles because they are liable to creep. When wall tiles have set, remove the battens and fit tiles into the remaining space, cutting them to fit if necessary.
Tiling around obstacles
Where possible, remove fixtures such as cupboards; if this is not possible, tile to the sides of the unit, leaving the tiling immediately above them until later. Then fix a batten along the top of the unit so that the top of the batten aligns exactly with the bottom of the tiles on either side. Continue to tile along either side, and above the batten, and when these tiles have set, remove the batten and cut tiles to fit below. A similar method is used for window reveals and doorways. Use round-edge tiles on the reveals of the openings, rather than on the face of the side wall. as this will help keep the vertical lines in true.
If the tiles have no spacer lugs, cut small pieces of card and insert them between the tiles. Remove them when the tiles have set. Any part tiles should be nearest the window, with the spacer lugs facing those tiles already in position.
Cutting and shaping tiles

Use a felt-tipped pen to mark the tile where it is to be cut. For a straight cut, score the glazed surface with the tile cutter, using a straight-edge as a guide. With the glazed side uppermost, place a matchstick or small piece of wood under and along the scored line, put your thumbs on both corners and apply even pressure downwards. The tile will snap cleanly along the scored line. For a shaped cut, cross scratch the area to be removed and use pincers to nibble away the part, taking small ‘bites’ at a time. Smooth off any unevenness with the carborundum block or file. Near the edge of the tile, a round hole can be made by marking the line round a coin, and scoring it, and the area inside it, with the tile cutter. Nibble away the waste area with pincers. Small holes can be made with a tungsten-tipped drill. Larger holes or patterns can be cut by drilling a series of holes in line to the shape required and removing the section. To make a hole in the centre of a tile, mark its position and then cut the tile in half. Use pincers to nibble away the semi-circle in each half. When the halves are placed together, the join will be barely discernible.
Grouting the tiles
When all the tiles are in position, wait at least 12 hours (several days if tiling over old tiles) and then grout the joints. Use a sponge to rub it into the joints with a semi-circular movement. Remove any grout from the surface of the tiles with a damp sponge. When the grout has almost set, draw a round-pointed stick across the joints. Finish by polishing the tiles with a soft dry cloth.


