Fireplaces and chimney breasts are main room focal points. Without them, room balance may be upset. Adapted for other uses, they can still achieve this balance.

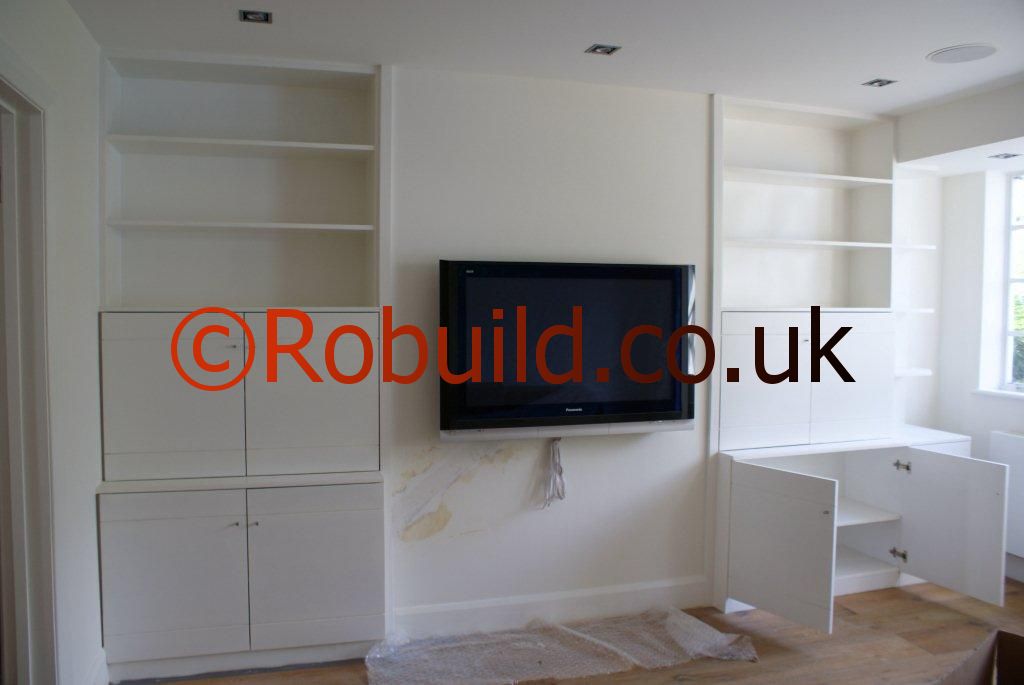
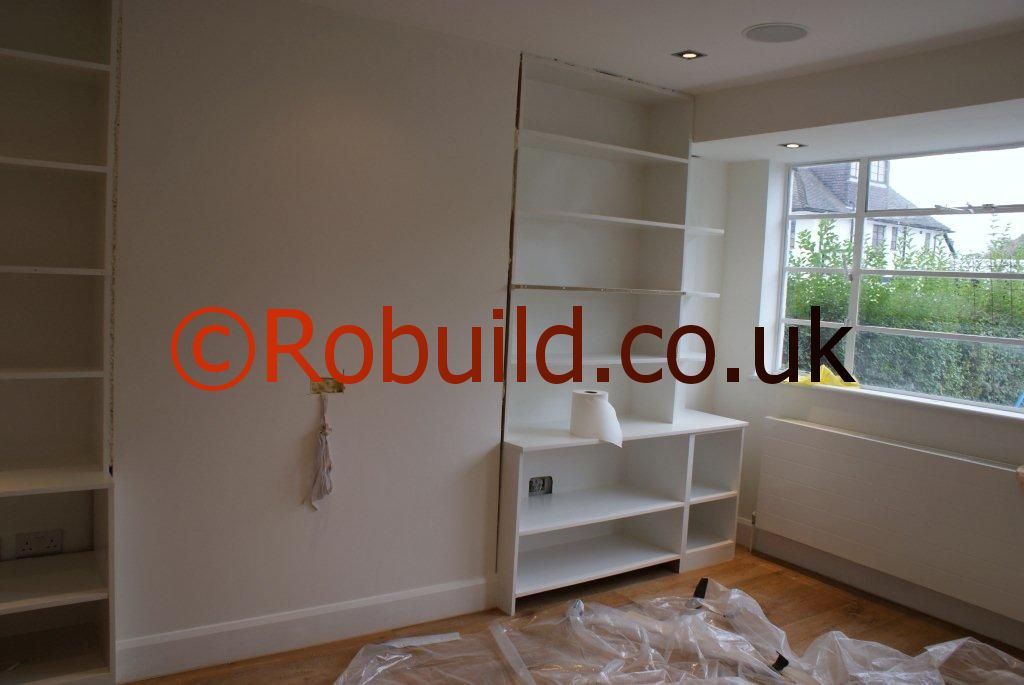
This project is a low-level, room-width storage and seating unit. As shown, it provides a flat screen TV console, a drinks cabinet, a magazine or book shelving and space for storage under the hinged seats, but it can be adapted to suit the individual family’s needs. The design helps make it a visually strong focal point, with the unit’s long, low lines to give almost a ‘floating’ appearance. The unit is relatively easily built from MFD , hardwood or softwood, with a trim, and can be painted, laminated or veneered.
Closing off the chimney

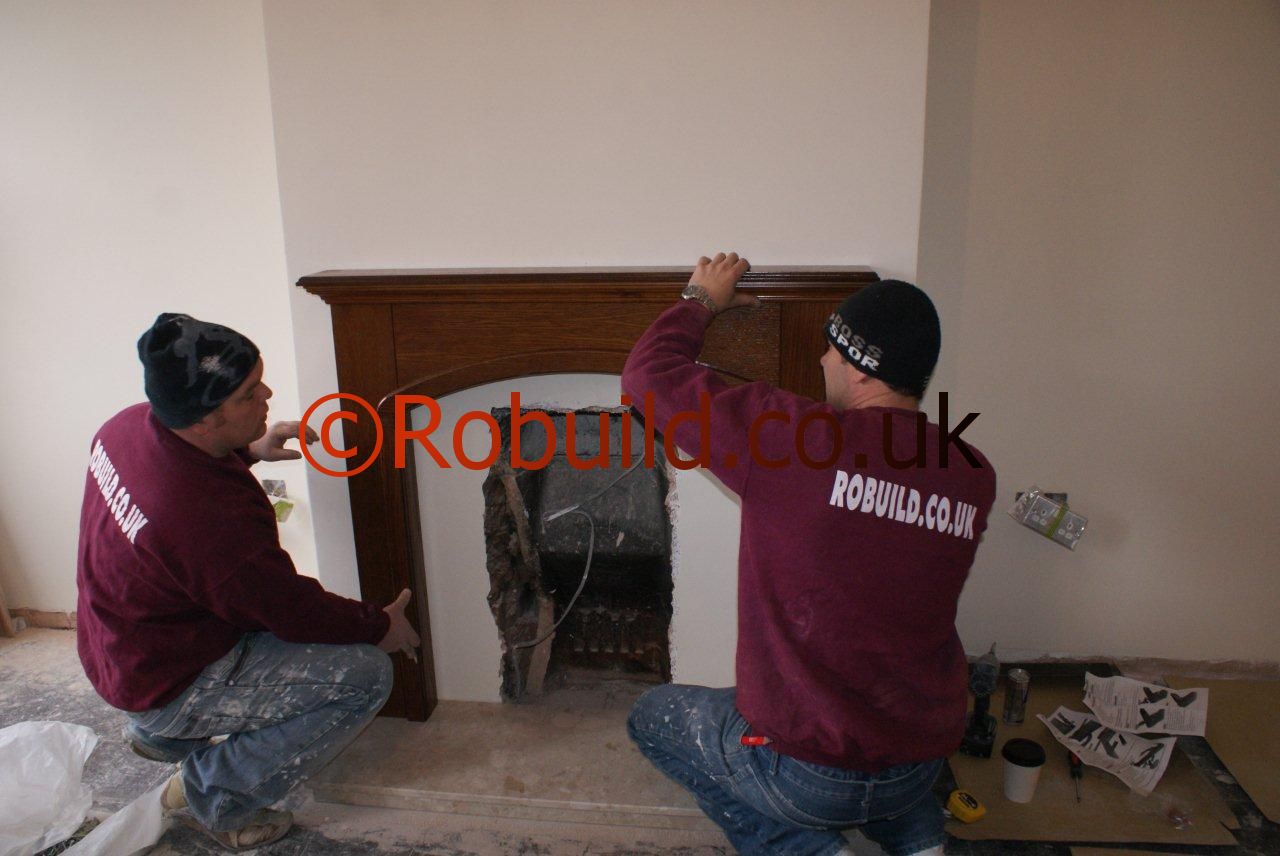
The first job is to remove the fireplace and hearth, cap the chimney, and block up the fireplace opening except for necessary ventilation holes. A fireplace is usually attached by metal plates screwed to the wall, beneath the plaster, at its corners and in the middle. Once you have hacked away plaster and removed the locking screws, the fireplace should come away easily. Get some help for this job; fireplaces are often too heavy for one-man handling. Next, remove the hearth, which may also be fixed by screws through plates. Frequently the area beneath the hearth has to be made good, either by filling with concrete or by putting in local sections of floorboarding. If you have a suspended floor, make sure that in filling any gap with concrete you do not impede the air flow under the floor. Capping the chimney will prevent rain from entering and obviate any gradual buildup of rain-sodden soot at the base of the chimney, a possible source of damp penetration through masonry walls. You may be able to buy proprietary capping units which can be mortared over the chimney pot, or others which simply slide on. Alternatively, you can mortar on a piece of slate or earthenware.
However, the chimney needs air circulation if it is not to become a dampness ‘trap’, leading to deterioration of the brickwork and even causing plaster to fall away.
So when you come to bricklaying you should install two air bricks as far apart as possible-for example, one just above the seat of your built-in unit, and the other high up on the chimney breast of the room immediately above. Alternatively, you can use metal or plastic grills, screwed into place over a gap in the brickwork.
Masonry chimney breasts
Ordinary bricks ‘commons’ are suitable for bricking in a chimney opening. The bricks should be ‘keyed’ into the surrounding brickwork, either by removing a brick every three courses or so from the existing brickwork and bonding a brick between new and old brickwork-known as ‘toothing’ or by bonding the brickwork by means of metal wall ties. Make sure the new infill brickwork is flush with the original, or at least does not protrude beyond the surrounding plaster, or you will have a problem in getting a flush finish when you come to plaster. An alternative is to fix plasterboard over the chimney aperture. You nail a timber frame to the brickwork on either side of the opening and fix a sheet of plasterboard, recessed a little to allow for surface plastering, with plasterboard nails. However, such a sheet is vulnerable to heavy knocks.
Timber-framed chimney breasts
In countries where frame houses are the norm, chimney breasts are often built of timber. and regulations insist on a gap between the brickwork and the timber. This automatically provides air circulation around the chimney, and ventilators are unnecessary. In such cases, rather than trying to patch up the hole where the fireplace has been removed, the ‘cleanest’ job comes from removing the plasterboard or wood-panel facing from the whole front of the chimney breast. The hole in the framing beneath is then filled with timber jack-studs and nogging, and the whole front re-covered in one piece.
Wiring
Wiring should be done by professional electricians between finishing the brickwork or plasterboarding and beginning plastering. For the lights,’loop off’ from the nearest ceiling rose and carry the cable through the ceiling into one of the alcoves. Cut a channel through the wall plaster from the ceiling to a point 3ft above floor level, preferably on one side of the chimney breast, where making good will show up least. Pass the cable through metal or plastic conduit, and ‘bury’ this in the groove. You can make good the plaster while doing your other plastering.

For the flat screen TV unit, loop off a spur from the nearest outlet on your ring-main and carry the cable behind the skirting board to the right amperage junction box which you will fix below your record deck.
Making good

Once the brickwork mortar has dried out, or plasterboard has been flexed, the opening can be plastered. If you already have some plaster, throw out any which is ‘lumpy’ (instead of having an even, floury texture); it will not bond to the surface, but craze and break away. If you are buying new plaster, buy only what you need for the job, since it does not store well and is easily affected by moisture in the atmosphere. For this job, you may need as little as 6.5 Kilos (l4lb) or as much as l2 Kilos (281b) depending on how well you have done the brickwork.
Buy by the bag from the hardware shop, rather than in bulk, and if you have any left over make sure it is well sealed. You will also need a plasterer’s metal trowel and wood float, an old paint brush of medium size, and some sort of scratching implement. if you are plastering over brickwork, first hack back the existing plaster for about 50mm (2in) all round. This will help you feather the new plaster work neatly into the existing plaster. Now use a vacuum cleaner; the surface to be plastered must be dust-free.
Mix the plaster well, and to a creamy consistency. Now use the paint brush to flick water on to the brickwork until it is damp, but not wet; this will key the plaster. The first coat is applied to just below the surface of the surrounding plaster. Use the metal trowel with firm upward strokes and covering a short area at a time. Before the first coat has dried. it must be cross-hatched with a grid of diagonal lines to provide the key for the fina1, or ‘finish’, coat. Plasterers do this by knocking small galvanised nails into the back of the float and pushing them through until they are just proud of the face.
Unless you are fairly experienced, you might find tire trowel or pair of scissors easier. After the ‘scratch’ coat has dried, the metal trowel is used to apply the finish coat, again with firm upward strokes. Apply the plaster thinly, and leather it into the surrounding plasterwork so that there are no bumps or nudges. As soon as you have finished, check for irregularities by ‘sighting against the light’ over the surface and smooth out any that )you find removing them later would be a dusty job. Next, before the finish coat is dry, flick water on to the surface with the paint brush and polish the work smooth with the trowel.
Decorating over the plaster

‘Skim’ coats of plaster over plasterboard dry out quickly; thicker plaster needs six months or so. During this time, the plaster can be painted with an emulsion paint, or tiles can be applied; the moisture will gradually disappear. However, an impervious surface (such as a laminate) or one that might stain (such as wallpaper) should be applied only after the plaster is thoroughly dry.
Building the console unit
The seating and storage unit is built as a series of four ‘boxes’, which are then fitted together. Each ‘box’ is self-supporting, but gains extra strength from being fastened both to its neighbour and to timber battens fastened to the wall. S standard British chimney 122cm (4ft) wide x 36cm (14in) deep, with l22cm (4ft) alcoves on either side. But as alcoves and chimneys come in all sorts of sizes, the first stage is to modify these dimensions if necessary. The second-or rather, continuing stage is constantly to check for ‘fit’ as you go along, and not to fasten any unit until you have tried it against its neighbours.
First, you must establish the accurate sizes of your chimney alcoves, and whether each is ‘square’ within itself and with the face of the chimney breast. A line stretched taut across the face of the chimney and extended to both sides of the room is the best starting point; then you can use rule and steel square to check dimensions and angles. If the areas are only slightly out of square, you can make the units a loose fit, later plastering the gaps and turning the wall covering to cover the joint. Or you can chip out small areas of the plaster for an accurate flt. If the areas are markedly out of square, you may have to cut templates to the shape of the alcoves; in this case, the angles where the units meet one another must, at all costs, be made exact right angles to give you essential datum lines.
