Kitchen Fitters & Bathroom Installers in London

Kitchen Fitters & Bathroom Installers in London

KITCHEN APPLIANCES

KITCHEN APPLIANCES

Fridges,Washing machines and dishwashers are necessary in any kitchen. Dishwashers are automatic,available as top or front loaders, though front loaders are by far the more popular. They are also easier to load and unload, as with top loaders it’s easy for crockery and cutlery to slip to the bottom of the machines. It’s a simple matter to stack a dishwasher with dirty crockery direct from the meal table and then turn it on before going to bed at night. Standard size dishwashers measure 85 x60 x60 cm. Smaller Dishwasher or Slimline Dishwasher are available, measuring 81 x45 x60 cm.
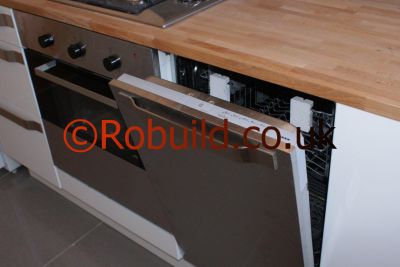
dishwasher

The machines need a permanent connections for both the water supply and the waste outlet. In most kitchens this should be a fairly easy task, provided you have room for the machines in the first place. As far as the capacities of washing machines and dishwashers go, you don’t really have much choice. Washing machines have a capacity of about 4-5kg (9-111b) and dishwashers will function quite happily provided you stack them up within the obvious tray limitations. It’s important to follow the manufacturers’ instructions for day-today maintenance. Many washing machines need their outlet filter cleaned regularly, as do dishwashers. They may also need regular doses of salts, not to mention rinse aids.

Fridges, need a fresh water supply for ice making.

There are a number of ways in which you can arrange the water supply. One of them is sure to suit your plumbing system or the layout of your kitchen or utility room. A washing machine may need a hot and cold supply; dishwashers and some washing machines need only a cold supply. Let’s first consider the conventional means of plumbing in – the means that a professional plumber would almost certainly adopt if you called him in to do the job for you. It is likely to be most satisfactory where the machine is to be positioned in the immediate vicinity of the kitchen sink and the 15mm (1/2in) hot and cold supply pipes to the sink taps are readily accessible and in close proximity to each other.

The technique is to cut into these two pipes at a convenient level, after cutting off the water supply and draining the pipes, and to insert into them 15mm compression tees. From the outlets of the tees lengths of 15mm (1/2in) copper tube are run to terminate, against the wall, in a position immediately adjacent to the machine. Onto the ends of these lengths of pipe are fitted purpose made stop-cocks. These are usually provided with back-plates that can be screwed to the wall after it has been drilled and plugged. The outlets of the stop-cocks are designed for connection to the machine’s inlet hose or hoses. As an alternative, which is best used where the hot and cold water pipes in the kitchen are in close proximity to the position of the machine, you can use a special patent valve. This is a ‘tee’ with a valve outlet designed for direct connection to the washing machine hose. There are compression joints at each end of the tee and the valve is particularly easily fitted because there is no tube-stop in one of these joints. This cuts out the difficult business of ‘springing’ the cut ends of the pipe into the tee.
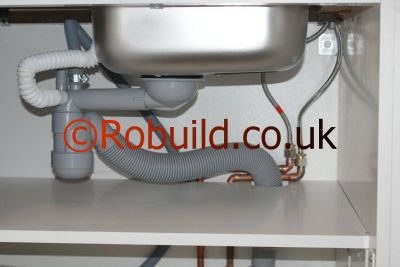
washing dishwasher machine waste supply

Dealing with washing machine or dishwasher drainage is done taking the waste pipe to connect directly to the trap of the kitchen sink and this course of action should be suggested at DIY centres and by plumbers’ merchants staff.

Kitchen Refurbishment Cost

Cost for a Kitchen Refurbishment

kitchen london

When refurbishing a Kitchen, the cost of the refurbishing is calculated by separating the Labour Cost and Material Cost.

Labour Cost

It is very likely that a Refurbishing Kitchen Project will involve the following tradesmen :

Labours – to demolish the old kitchen, remove old tiles, tide up the building site, and do unqualified works. This type of work can be done as DIY job.
kitchen

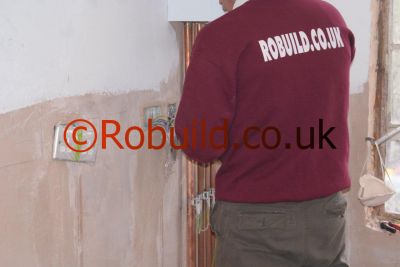
Electricians – the electrician must be NICEIC Qualified Electrician. The electrician will install new plug points, power points, lights, connect the electrical appliances.
electrician

Plumbers – if you have a Gas Hob, or Gas Oven, the a Gas Safe Registered Plumber will be needed. The plumber will make sure that the Gas pipes and appliances are installed, fitted and connected correctly and safely.Any plumbing that will go into the walls, must be done before the plastering. The plumber will fit and install the kitchen sink, run the plumbing pipes, hot and cold water supply, waste pipes.
plumbers

Plasterers – if the walls needs to be re-plastered or skimmed.Uneven walls or damaged plaster,must be repaired before the kitchen installation can proceed. Wet and humid walls can damage the kitchen units, the plastering should be done well in advanced and after the electricians has installed the sockets and other power points.
plastering kitchen

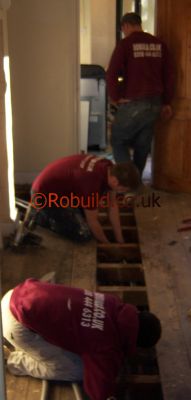
Carpenters – the carpenter will install and fit the Kitchen cabinets and units.If the worktop is made of wood, the carpenter will cut out the worktop for the kitchen sink, cooking hob and fit the worktop too.
kitchen installers cabinets

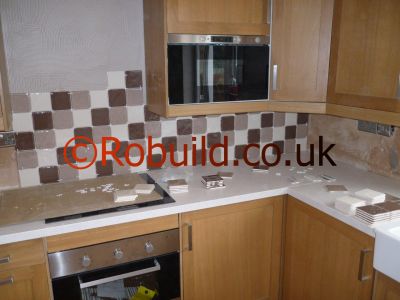
Tilers – the tiler will have the job of laying floor tiles and wall tiles. A good tiling finish is paramount for any kitchen refurbishment.
kitchen tiles

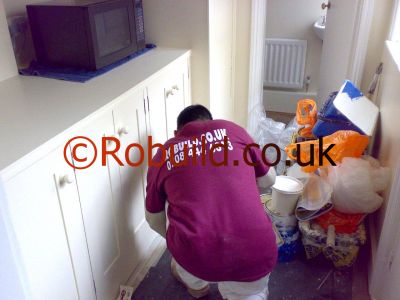
Painters and Decorators – the painters and decorators will ensure a good finish paint job.Because the kitchen is exposed to constant vapours and humidity, sometimes an acrylic based paint is recommended, and these types of paint are notoriously difficult to work with.
painter decorator

Materials Cost

There are numerous shops and kitchen suppliers from where you can buy a kitchen. The prices and quality can range from very cheap to very expensive, and from good quality kitchen to terrible. For example, a medium sized kitchen can cost from £1900.00 to well over £27000.00, for the same number of kitchen units, appliances and size.

Kitchen Cabinet Units – the quality cabinets are made of solid stain grade wood,cherry, maple, oak, etc. A much cheaper version of cabinets material is made of melamine foil covered boards. MDF cabinets can be made by carpenters for custom made kitchens.
kitchen cabinets

Kitchen Doors – the kitchen doors are the kitchen,the most important element in the appearance of your kitchen. The quality of finish on the doors should be very durable, scratch resistant, easy to clean. And of course, very aesthetically pleasant.
kitchen doors

Worktops and Countertops – worktops are exposed to heavy traffic,spills, hot pans and sharp knives. Granite is a good choice when durability and elegance is important. Other types of worktops are made of; Wood, Acrylic,Stone,Laminate and Glass. Custom made worktops are more expensive than standard worktops, which can be cut and fitted by the carpenter.
worktop

Kitchen appliances – cooker hobs, extractor hoods, ovens, dish washers,fridges, kitchen sinks, etc. The cost for kitchen appliances, can be major, as much as the kitchen cabinets, doors and worktops, and sometimes even more.
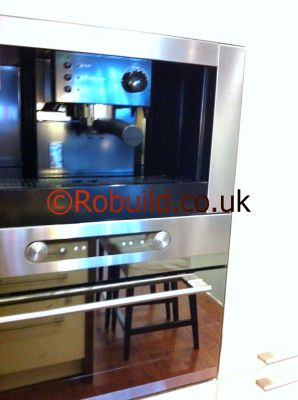
kitchen coffee maker integrated

Robuild London Kitchen Fitters and Installers, can offer a Full Kitchen Refurbishment Service, from Kitchen Design to installation and fitting.

Kitchens and bathrooms plumbing

Adapting and extending kitchens and bathrooms pipework

If the existing hot and cold supply is in copper, your problems are simple. Compression joints (with nuts) can be disconnected and new lengths of pipe run to the new taps using compression joints.
copper pipes compression joint plumbing 15mm
If the joints are capillary (soldered), heating with a blowlamp will enable them to be pulled apart and new joints made.
soldered plumbing
If the supplies are in steel pipes you’ll have to locate a threaded joint in the steel pipe-there’s one where the old taps join on but there may be others more convenient for your new pipe run farther back. Unscrew steel joints you may need to heat them first – and fit a steel-to-copper adaptor using PTFE tape for the steel side, then run new piping in copper. If the supply is in lead you will need a plumber to make a lead to copper joint from which you can pick up in copper, or to connect the lead pipes to your new taps; joining lead is a skilled job. Pipes coming down to taps over the sink will have to be extended below the kitchen sinks or bathroom basins and there turned up to meet the threaded ends of the new taps.

Pipes to the side of the new unit can run low down (where they will be hidden by the sink or basin cupboard) and up to
the new taps; pipes from below are easiest of all because they will only need cutting short to connect to the taps. Pipes on the surface of the wall are easiest to deal with but present problems if they pass from above, behind the back of the sink or basin unit to reach the taps.

Turn pipes to run parallel with the sink top, dropping down a the end of the unit to enter through end panel; or hack channel in the wall. Ideally this channel should have removable cover, but most houses survive without such refinement. Drill sink base for fitting to wall, stand it in place and mark wall for drilling and plugging.

Now fix the waste pipe; unless the old one if sound and in precisely the right position it’s quicker to scrap and fit a new waste pipe in plastic. Cut holes for waste and supply ‘ pipes in unit where necessary. With sink or basin unit away from wall fit swivel coupling; loosely to taps; complete running supply pipes to sink position.

Now tighten swivel couplings to taps using fibre washers or jointing paste and hemp for a watertight joint. Put complete unit in place, screw it to wall and connect hot and cold supplies. Turn on water and check for leaks. When you are sure everything is sound, make good and plaster and tiles.

Replacing the kitchen sink and tap

Replacing the kitchen sink

Modernising an old kitchen starts at the sink, and it’s not difficult. Replacing a sink with one of the same kind is
straightforward; replacing an old fireclay sink with a new enamel or stainless steel unit is more complicated
but not beyond the skill of a DIY amateur householder.
kitchen sink round

Turning off the water supply

The cold water supply to your sink will be direct from the main; turn it off with the stop tap in the house (sometimes
below the sink) or by a stop tap outside, usually in or near the path. Hot water should be controlled by a valve in the pipe from the cold tank in the roof to the hot cylinder. If your house or flat hasn’t such a valve (many haven’t) having turned off the cold stop tap simply turn on all hot taps until no more hot water comes out.

Switch off immersion heater and turn down boiler to stop water in the hot cylinder overheating, but there’s no risk of
damage because while the 25 or 50-gallon cold tank will empty, the hot water cylinder itself remains full. (If you can’t bear the thought of wasting all that hot water, turn off heating the night before.) If hot water is supplied by a separate gas or electric heater, turn off the valves on the heater itself.

Removing the old kitchen sink

Begin by disconnecting the waste from the old sink: this will be fastened either by a bolt running down through the
centre of the waste fitting, or by a large nut beneath the sink tightened on to the threaded stem of the waste fitting. You may have to tap the waste fitting to break the seal of old hard putty which will hold it to the sink. Then slide the sink forward off its supports (take care: it’s heavier than you think). If you are replacing it with a similar fireclay sink, simply clean off beneath the tiles where the old sink fitted and slide the new one into place.

Grout joint between new sink and tiles carefully – it’s a dirt trap. Reconnect the waste with fresh putty. If you want
a modern sink in its place, there’s rather more to do. If pipes to taps over sink are sunk in wall, hack off tiles to reach them. (Keep a piece as a sample if you want to match them.) Dismantle any cupboards under sink; take away any wooden sink supports.

Waste fittings are held by a bolt through the middle which unscrews (left) or by a nut beneath. When undoing nut, take
care to avoid damaging the trap; lead fittings are not very strong.

In changing an old-fashioned sink for a modern one you’ll have to remove some tiles to get at pipes behind taps above sink. To avoid breaking more tiles than necessary, cut the grout between them with razor blade. Wooden sink supports are easily removed : saw through tubular supports, cut out or break cast-iron ones.

Cut tubular sink supports .Cast-iron ones built into the wall, can be cut out with a cold chisel; or you may be able to break them off by a blow with a heavy hammer – cast iron is brittle. Set the new sink temporarily into its cupboard
unit and stand that against the wall, marking where sink top, bottom of tap stems and waste will come. Move it out again and cut a groove in the wall so back edge of sink fits snug behind line of tiles.

Fitting the new taps and the waste outlet

Some sinks and taps will be supplied complete with fitting instructions; if yours hasn’t such instructions this is what to do. Fit the taps in place, each one with a thin nylon washer on top of the sink (this makes the tap-to-sink joint watertight and, with enamel sinks, protects the enamel from the metal of the tap). Underneath thesinkcomes
a thick, shaped nylon spacer washer with the flat side against the underside of the sink. On to that goes the backnut, with its flat side against the washer. If you are installing a mixer valve instead of individual taps, there will be the same thick washers underneath, but one large sealing gasket on top of the sink instead of the thin nylon washer for each tap. Tighten the backnuts.There are different kinds of waste fittings. Fit the nylon or rubber washer supplied,inside the sink beneath the chrome outlet and another outside (beneath) the sink above the nut which tightens the fitting.

If the sink has no overflow the waste will be a plain threaded one, it must have a slotted waste, similar to the plain waste, but with slots cut in the waste just below sink level to let in water from the overflow. This overflow
may be built in as an integral part of the sink, but in a modern unit it is most likely to have a flexible plastic pipe which runs from the overflow fitting (like a miniature waste) to a collar which fits round the slotted part of the waste. This kind of waste unit will have immediately below the sink above the overflow unit, and one below the overflow unit between it and the nut which tightens the whole assembly together. (Metal-window putty is an alternative
to nylon or rubber washers for sealing metal fittings, but putty should never be used with plastic fittings.)

Tighten the waste assembly. Now fit the sink unit to its base: small angle brackets screw into the framework and hold the turned-up lip of the sink top down to the base. More information about plumbing can be fond here. London Plumbers

Kitchen fitters and Bathroom Installers

Kitchen fitters and Bathroom Installers in London

Kitchen fitters & Installers LondonOur Kitchen fitters and Installers offer Kitchen Fitting and Installation Services, plus Design if necessary.
A complete one stop kitchen installation, design and fitting service, sometimes we can provide the kitchen units as well, based on your personal taste and budget.

Bathroom Installation, Bathroom renovation and Bathroom Remodelling

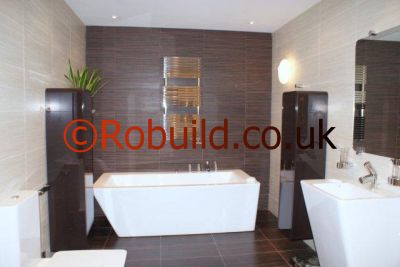
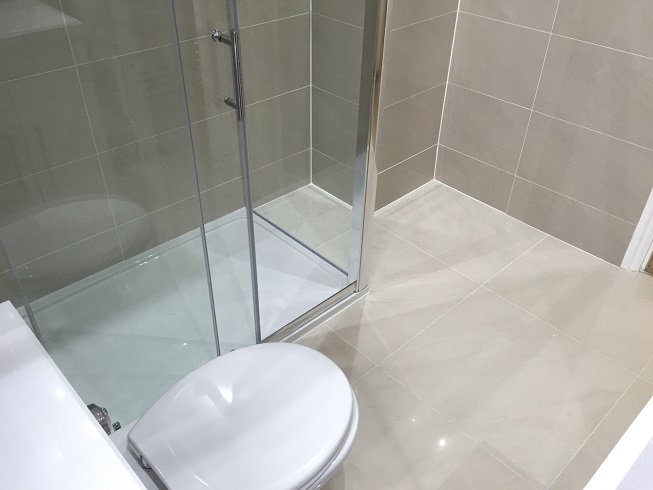
The bathroom installers and fitters can design and plan your bathroom and shower using CAD based designing programs.

Plumbing,plastering,electrical work, underfloor heating (heating under the tiles) tiling and carpentry are included in the services provided by the London Bathroom fitters & Installers.
bathroom fitters installers london

Kitchen island pod

Belgian designer Xavier Bonte set himself the challenge of building a household object that would be both a work of art, and a useful, compact device for urban living.

Inspired by a dream about a cloud, he developed his The Sky Is The Limit kitchen island pod together with the firm HI-MACS.