Bathroom refurbishment in Kilburn, 2 bedroom flat.

Rendering the walls in the bathroom

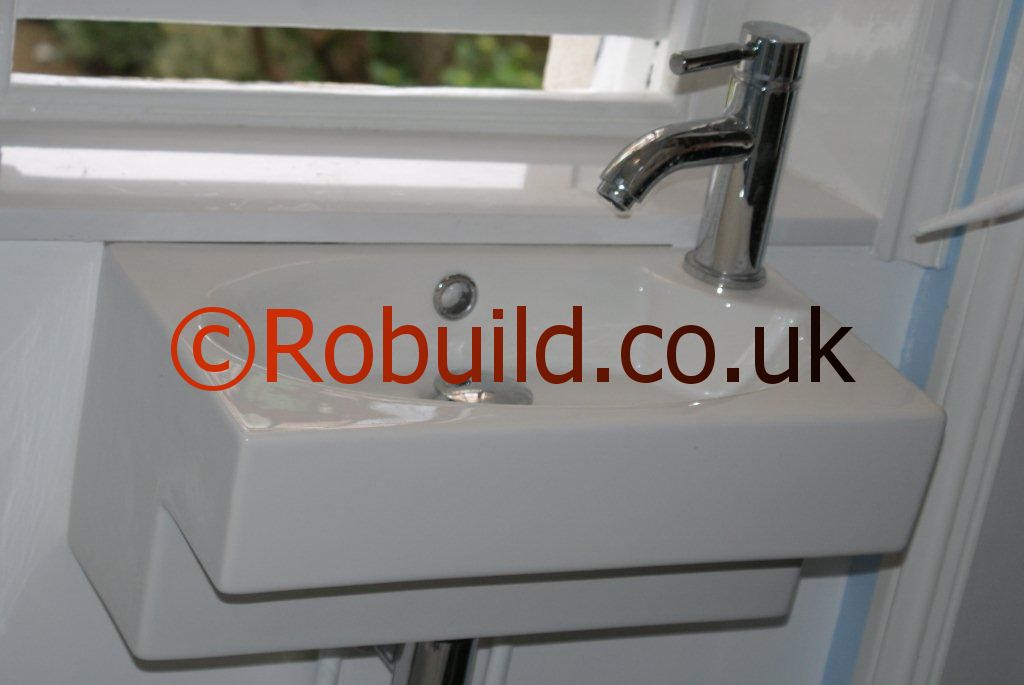
Small bathroom basin

Shower cubicle and thermostat mixer

The old bathroom before refurbishment

Refurbished bathroom
Bathroom refurbishment in Kilburn, 2 bedroom flat.

Rendering the walls in the bathroom


Small bathroom basin

Shower cubicle and thermostat mixer

The old bathroom before refurbishment

Refurbished bathroom
Kitchenette refurbishment in Kilburn, north-west London
A two bedroom flat, located on the ground floor.
The old kitchen before the works started :


Demolition works


Refurbished kitchenette


En suite bathroom, semi-detached house, first floor front bedroom.
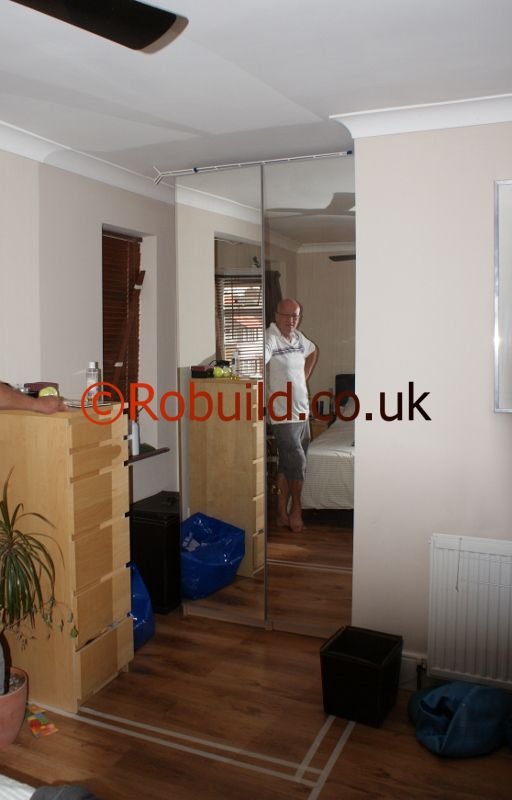
Location of the new en-suite bathroom

Building the walls for the bathroom

Plumbing in the waste and feeding pipes, electrical wiring for lights and extractor fan
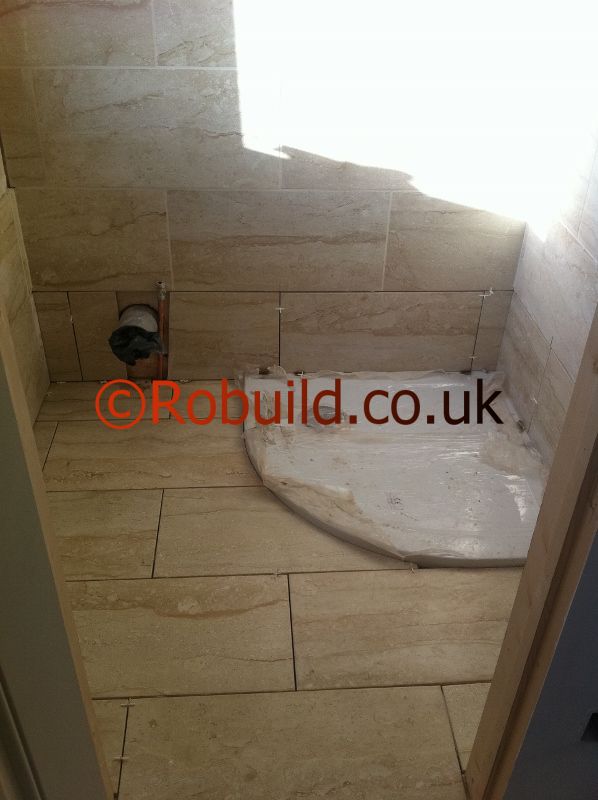
Tiling the walls and floor
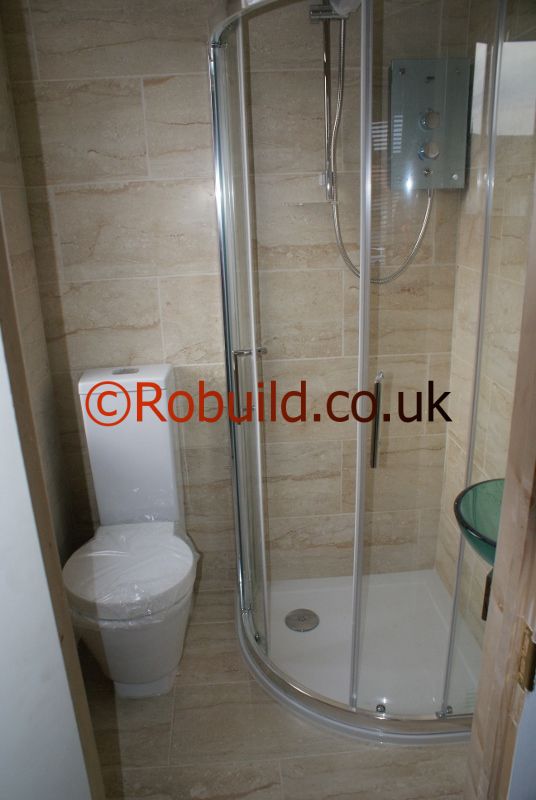
Installing the WC, shower, radiator and basin
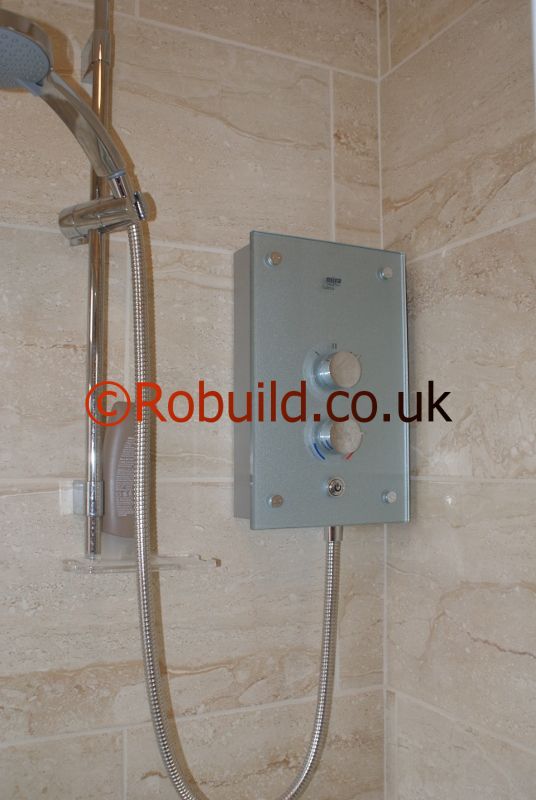
Electric shower

Corner glass basin and wall cabinet

Painting and decorating the en-suite bathroom, colours and skirting board to match existing
In bathrooms, clear glass is not the best window, obscure or frosted glazing ( sandblasted )is the best. It gives privacy and let’s the natural light go through. Double glazing windows are best, fitted with trickle vents for extra ventilation.

Removing a bathroom window
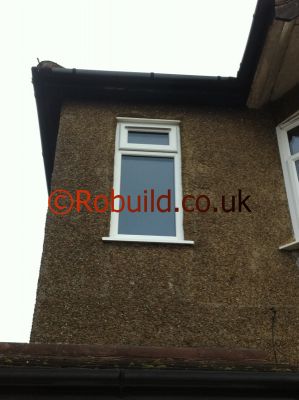
New bathroom window

The ensuite bathroom from inside
A photo gallery with ensuite bathrooms built in London
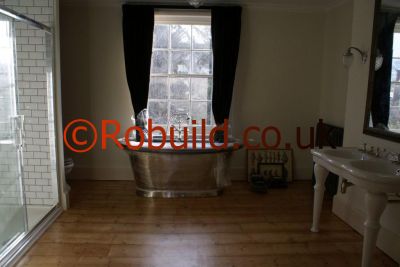
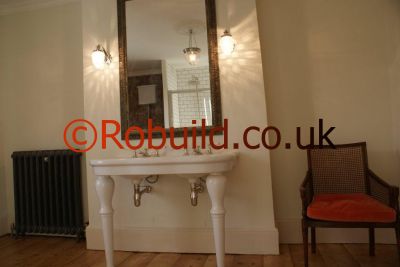
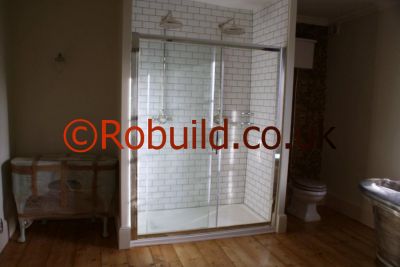


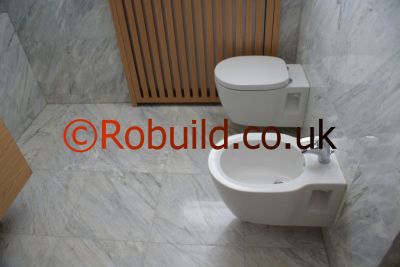


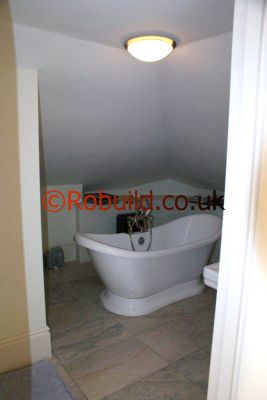
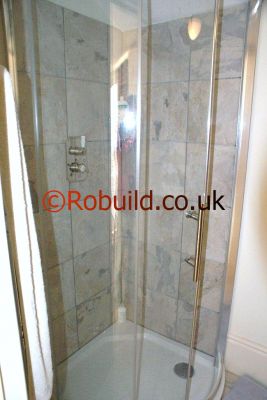
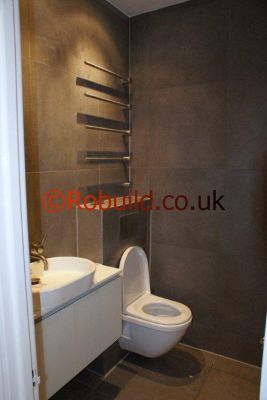
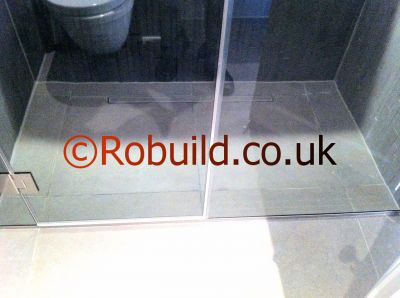
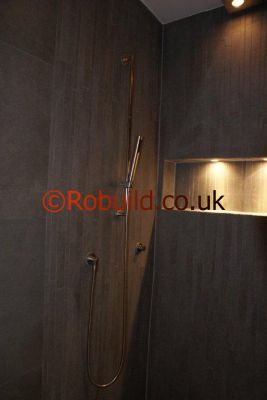
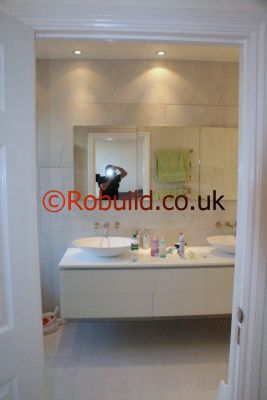

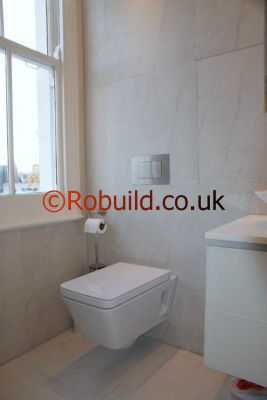

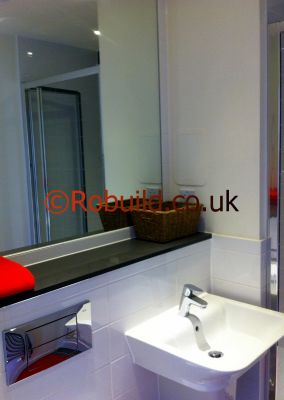
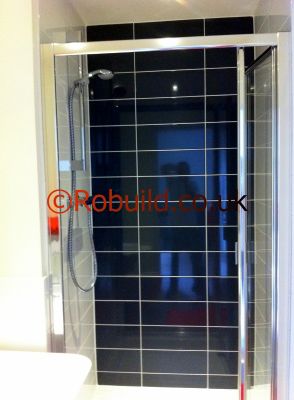

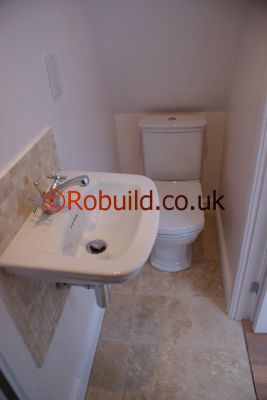

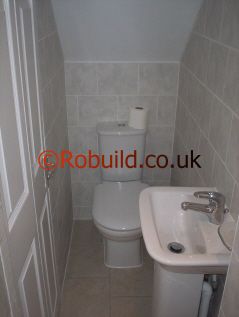

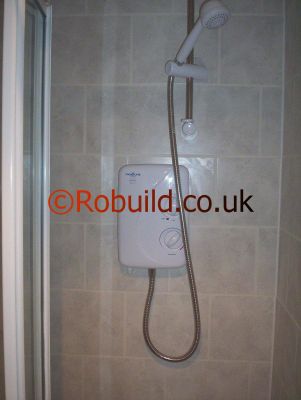


A simple bathroom design and layout using neutral colours


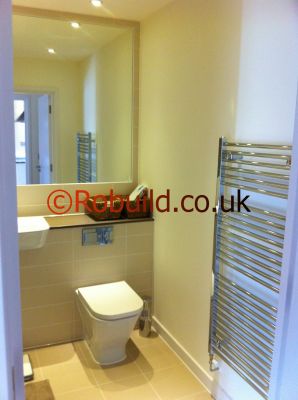


Terrazzo was originally invented by Venetian construction workers as a low cost flooring material using marble chips from upscale jobs. The workers would usually set them in clay to surface the patios around their living quarters. Consisting originally of marble chips, clay, and goat milk (as the sealer), production of terrazzo became much easier after the 1920s and the introduction of electric industrial grinders and other power equipment.

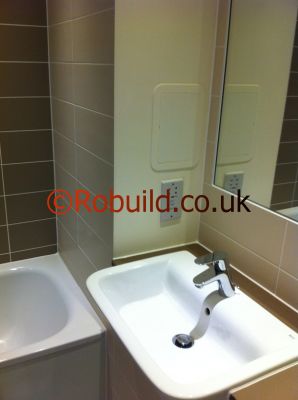
Decorative materials with cold surfaces, such as ceramic tiles, are renowned for the rapid formation of condensation. The build-up can be quickly dispersed by opening the windows. An extractor fan set into the window or mounted on (or ducted to) an exterior wall will also help remove vapour – quickly. You can reduce condensation in cold bathrooms by heating the room for a short time before running the bath water. Or you could use heated mirror cabinets like in the picture bellow – the type recommended for bathrooms.

Try running a little cold water into the bath before you turn on the hot tap, as this will also help reduce condensation. Other wall surfaces The real problem areas are patches of condensation which sometimes appear in odd corners of the home. Often these go unnoticed until a patch of mould appears. Poor circulation of air is one of the prime causes and on a damp day a short burst of warm air from a fan heater, or a hair dryer, will help to check condensation. If mould persists and the surface is not wall papered, rinse the wall with a strong solution of anti-mould. If the surface is wallpapered you will have to remove the paper and line the wall with rolls of expanded polystyrene which you can then wallpaper over or paint with emulsion. In severe cases this may not be completely successful and a painted wall, which can be treated with anti-mould cleaners from time to time is preferable.
Carpet tiles are not recommended for bathrooms and kitchens, they work best for office floors and other large areas.
The advantage of carpet tiles is they can be loose laid; this means you can move them around from time to time to distribute the wear evenly and replace individual tiles should they become damaged. If you spill something you can simply remove the affected square, wash it clean and leave it to dry flat, away from direct heat, before replacing it. Carpet tiles are easy to lay and awkward shapes can be dealt with one by one so mistakes in cutting will be confined to individual tiles.

They are available in a variety of fibres, surfaces and colours and are usually either mottled or plain; you can achieve a patterned or chequerboard effect by using different colours together or by laying tiles of the same colour so the piles run at right-angles to each other – or you can make a contrasting border. The backing is usually PVC or rubber and some tiles have a self-adhesive backing which is reusable should you want, or need, to move them about.When buying carpet tiles, check there is a guarantee on the stability of their dimensions so there is no expansion or contraction after they have been laid.
Estimating quantity
Since there may be a variation in shade between different batches, buy all you need at the same time. Even so, it is a good idea to open several packets of tiles and mix them up before you lay them so any slight variation in shade is barely noticeable. The sizes available make it easy to calculate the quantity you need. Make a plan of the room on squared paper and work out the area to be covered. You may have to cut tiles to fit round the edges of the room but, if the border is less than half of one tile, allow only one for every two border tiles.
Preparing the sub-floor
The sub-floor must be clean, dry, level and sound. If it is bumpy, it will cause the carpet to wear in patches; so always remove old or damaged floor coverings. If there is a gap between the skirting and the floor, the tiles may work their way underneath the skirting. Prevent this by closing the gap with hardwood beading (this will also keep out draughts) or by sticking down the border tiles.
Timber floors
Make sure there is adequate ventilation below the floor. Fill any gaps between the floorboards with a tough wood filler. Make sure all floorboards are nailed securely down so there is no movement and punch all nail heads well below the surface of the timber with a nail punch. If the floor is very uneven, cover it with hardboard before laying the tiles. Timber floors treated with wood preservative are unsuitable for most types of carpet tiles, so check first with the tile manufacturer’s instructions.
Solid floors
Don’t lay carpet tiles on a concrete floor which has underfloor heating. If the concrete floor is laid directly onto the ground, bear in mind it must have a damp proof membrane. Fill any cracks or holes and smooth off an uneven floor with a levelling compound you may be able to rub down any bumps or rough spots.
Laying the tiles
If you cannot clear all the furniture out of the room, tile one half at a time. Generally speaking it is better to loose-lay the tiles so they are movable, but you should stick them down in areas where there is likely to be a 1ot of movement. You can fix them down permanently with a flooring adhesive (use the one recommended by the manufacturer) or with double-sided adhesive tape so you can move them if necessary. If you place the tape round three sides only, you will find it easier to remove the tile. Always fit the first tile with tape so you have a stable base to work from.
If the floor tiles are very uneven, you may decide to replace them or re-cover the floor; a self-smoothing floor screeding compound is applied directly over the tiles to form an ideal sub-floor. Cracked or crazed tiles cannot be repaired; they must be replaced with new ones. You can, however, make a temporary repair on slightly pitted tiles with cementwork or adhesive filler. Remove the damaged tile carefully so you do not damage adjacent tiles.

You should wear protective spectacles when breaking up the tile with a hammer and small cold chisel; start at the centre of the tile and work outwards. When the tile has been removed piece by piece, chip away the bedding mortar so the new tile will lie just below the surface of the existing tiles. Coat the back of the new tile with a thin layer of floor tile adhesive, using a notched spreader. Press the tile into place so it is level with adjacent tiles and move it so there is an equal gap around all its edges. After 24 hours you can fill the joints around the tile with grout or a mortar mix consisting of four parts fine, sharp sand to one part Portland cement.