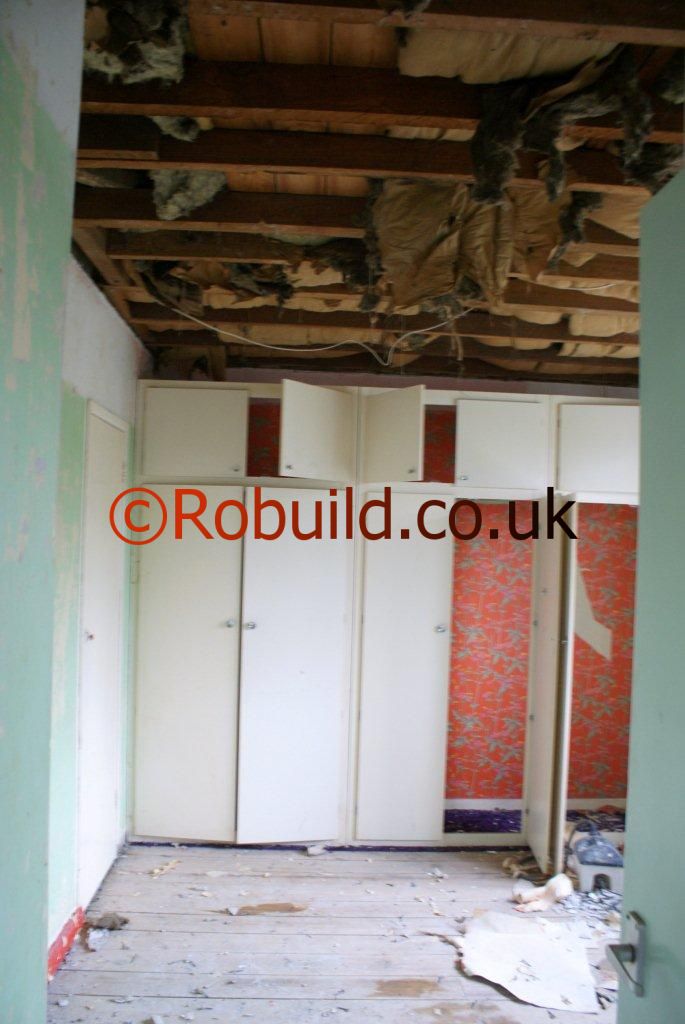
When our London based Building Company started working on a terraced house in north London, it was in a dingy and dilapidated state-both inside and out. The builder undertook the job of a complete conversion and, after much careful and imaginative planning, there was a dramatic transformation, producing three separate, colourful and attractive flats. The house consisted of three floors and a basement. With help from the Architect and an interior designer, we were called in to do the converting, decorating and furnishing. The architect’s brief was to create three self-contained units, fully fitted and furnished.

The basement and ground floor became a roomy maisonette; the first floor a compact flat, designed for an older couple; and the top floor, a modern and streamlined flat. Originally the top consisted of two rooms one front, one back and a central dividing corridor, with an access door at either end. The architect decided on an open-plan scheme; from a space of only 180 square feet, he had to accommodate lounge and kitchen/ dining areas, a bedroom and bathroom. By removing hampering doors and partitioning walls wherever possible, the builders created fluidity of space which gives the top floor flat a feeling of being larger than it actually is.
An illusion of space, emerging front clever visual treatment in a conversion, can be as important as the actual amount of space available. The first step was to take away the wall by the staircase the internal wall of the original back room making the central corridor into an ‘island’ surrounded by oceans of space. Advantage was taken of the fact that the two corridor walls couldn’t be removed because of the support they provided for the loft ceiling. Most of the old lath and plaster was removed from the studding. Both ends of the ‘island’ were then closed in to create a streamlined effect-a feature of the interior design which is repeated throughout.
A bathroom was then put into the ‘island’, maximising on the old corridor space. Special ventilation was then provided to meet the British Building Regulations. The new, long and narrow bathroom has a wc at one end, wash basin in the central area, and a shower unit at the other end. An outstanding feature of this room is the mock windows which help to eliminate a closed-in or confined feeling. The sky and floral scene which forms the mock window over the wc was incorporated in a parallel of laminate by special ‘artwork’ processing during manufacture. The design is indestructible and makes for easy cleaning and care. The areas on either side of the ‘island’ bathroom were then devised.

On one side is the spacious lounge and the staircase and on the other, the cooking, eating and sleeping areas. In the latter section a useful prefabricated unit was designed to serve a dual purpose: a room divider between the sleeping area and the kitchen/dining area and, secondly, it incorporates a complete array of kitchen fitments on one side and a bedroom storage hanging cupboard on the other. This prefabricated unit is an ideal example of how one item can be used to best advantage through intelligent forethought. Some partitioning was needed between sleeping and cooking areas as well as kitchen appliances and storage space for clothes.
All these requirements were cunningly brought together in this well organised unit. There is a full glazed door at either end of the wall unit which prevents heavy kitchen smells from getting into the bedroom, while also conveying freedom of movement, central to any open-plan scheme. All the appliances are built in, including a handy eye-level wall oven, a modern hob and a small refrigerator.

A waste disposal unit fitted into the sink overcomes problems of rubbish disposal. The practical laminate finish is designed with minimum cleaning and maximum visual appeal in mind. Facing the kitchen unit is a dining table with a gracefully attached bench. In the alcove adjoining the block-up chimney breast, a useful cupboard unit, including a handy shelf, was built. No space could be wasted in designing this flat-every inch had to be utilised to the full.

