House Extensions, Kitchen Extensions, Loft Conversions, Garage Conversions Builders in London

House Extensions, Kitchen Extensions, Loft Conversions, Garage Conversions Builders in London

Reducing heat loss in the home

insulation

Many houses fall well below the minimum thermal insulation standards set under building regulations. Although some forms of insulation should be carried out by a professional, there is still much that can be done by the home handyman. Before you begin the process of keeping heat inside where it belongs, it is useful to understand the ways in which heat is lost from a house. The amount of heat lost does depend on the nature of the building, its aspect and exposure to winds – and figures vary from house to house.

In a typical uninsulated house approximately one quarter is lost through the roof, one-third through the walls, one-tenth through the doors, one-fifth through the windows and one-sixth through the floors. After insulation these losses can be cut down to approximately one-twentieth, one-tenth, one-twentieth, one-ninth and one-tenth respectively. So although insulation does not prevent all the heat escaping, it substantially reduces the amount of loss and correspondingly diminishes the size of your heating bills.

It shortens the time it takes to heat a room and enables you to keep down the number and size of radiators and the size of the boiler or to install a less powerful and therefore less expensive central heating system around the home. Forms of insulation vary from the simple rubber strip draught excluder on your door to insulating boards lining the walls. What you decide to do will depend on the amount of time and money you have available; but the more thoroughly you carry out the job, the greater the rewards will be in terms of comfort and eventual savings, which will well repay the initial expense and effort.

Insulating the loft space

Heating costs rise with the warm air if heat is allowed to escape through the roof. By insulating the loft area you can keep down the bills and hold heat where it belongs – in the house. A loft that is not insulated accounts for a heat loss of about 25 percent in the average size house. Several forms of insulation are available and fall into two categories: loose-fill materials such as velmiculite granules and the mat type made from glass fibre or mineral wool. The materials we mention are all resistant to fire and you must check on the fire-resistance of any alternative product you consider buying. As a precaution,first treat all timber for woodworm.

Insulation slab loft conversion
Insulation slab
A versatile thermal and acoustic rock mineral wool insulation slab suitable for a wide variety of applications such as drylining, stud partitions, loft conversions, etc

Granule insulation
One advantage of using granules to insulate your loft is that they flow easily and smoothly and will fill any awkward spaces. They are also safe to handle since they do not contain any splinters or loose fibres.

Vermiculite
Expanded mica in granule form. this is supplied in easy-to-handle bags. The manufacturer’s instructions will give you a guide to the number of bags needed for specific areas. You should wear a mask and some form of eye protection when using vermiculite since it is a dusty material that easily gets into the atmosphere.

Laying granules
Pour vermiculite between the joists to a depth of about l00mm, which will bring it almost to the level of the joists. Level the granules to the required depth by dragging a T shaped piece of timber along the top of the joists. This can be made from any piece of scrap wood at least 150mm wide and 500mm long. You must cut the base of the ‘T’ to fit the gaps between the joists. Use a broom or rake for awkward corners.

Mat insulation
This form of insulation does not need to be laid as thickly as granules and should be used in lofts where there are gaps around the eaves, since wind might blow the granules about.

Glass fibre
The most economical form of mat insulation for loft spaces. It comes in thick rolls and is available in 400mm widths, equivalent to the space between roof joist in most houses, and can be cut quite easily with a large pair of scissors or a sharp knife. Even handled carefully, glass fibre can irritate the skin, so always wear gloves when working with it.

Mineral wool
Another mat type’ this is made from rock fibre and is handled in the same way as glass fibre.

Laying rolls
Place the roll of material between the joists and tuck the end under the eaves. Working backwards, unroll the material until you reach the other end of the roof. Cut it and tuck the end under the eaves as before. Lay the strip flat between the joists or, if it is a little wider, turn the sides up against the sides of the joists. Continue in this way until the whole loft area has been covered. If you have to join two strips in the middle of the roof butt them together.

Insulating awkward areas
You will find it easier to cover awkwardly shaped or inaccessible areas with granules. A l00mm thickness of granules is equivalent to 80mm of blanket materials in terms of effective insulation. Whichever method of insulation you use, don’t insulate under the cold water tank. You must allow a warm air current to flow from below to prevent the tank from freezing in cold weather. But don’t forget to insulate the loft flap or cover. Cut a piece of mat material to the size of the cover and stick it down with a latex adhesive. And when working in the loft, remember to tread only on the joists or on a board placed across them.

Other forms of insulation
Even more insulation can be provided if you make a floor to the loft by fixing panels of chipboard or planks of timber to the joists above the insulating material. This will also give you extra storage space, but you may have to strengthen the joists by spanning the load-bearing walls with large timbers before laying the floor if you want to put heavy items on it. Seek advice from a builder or your local authority. Heat loss through the roof space can be further reduced by lining the ceilings immediately below the loft with an insulating-type material such as expanded polystyrene or acoustic tiles. It should be emphasized, however, that this is not a substitute for loft insulation. Effective insulation of the floor will make the loft colder, so it is vitally important to ensure the cold water tank (except beneath it) and all pipes are thoroughly protected, otherwise they will be susceptible to frost damage.

Protection from frost
The type of loft most likely to suffer from frost damage is one with an unboarded tile-hung roof. If your roof has no close-boarding or roofing felt as is the case with many older houses – it is worth insulating it. Cut lengths of roofing felt about 200mm wider than the distance between the rafters. Lay one long edge onto the inside edge of one rafter, lay a 25 x 15mm batten onto the felt and screw through the batten and felt into the rafter. Use No 8 countersunk screws 25mm long spacing them at 300 380mm intervals. Don’t use nails as the vibration from hammering could dislodge and break the roof tiles. Stretch the roof felt across to the next rafter and fix the other edge onto the edge of that rafter, again screwing through a batten. Leave a space between the roof and the felt to allow air to circulate, otherwise you may find rot will form on the rafters. An alternative to roofing felt is tempered hardboard: butt-joint each panel of hardboard to the next by screwing it to the centre of each rafter with No 8 countersunk screws 25mm long. You may have to trim your cut panels so they fit neatly in the middle of each rafter. All this work can be done in easy stages; when you have finished, the roof space will certainly remain warmer in winter and will also be much cleaner – an important consideration if you are using the loft for storage.

Extensions ideas

Extensions – London

If you are looking for a London Building Company to build your extension,contact us.
open plan ground floor extension
House Extension
House Extension

Rear one storey extension

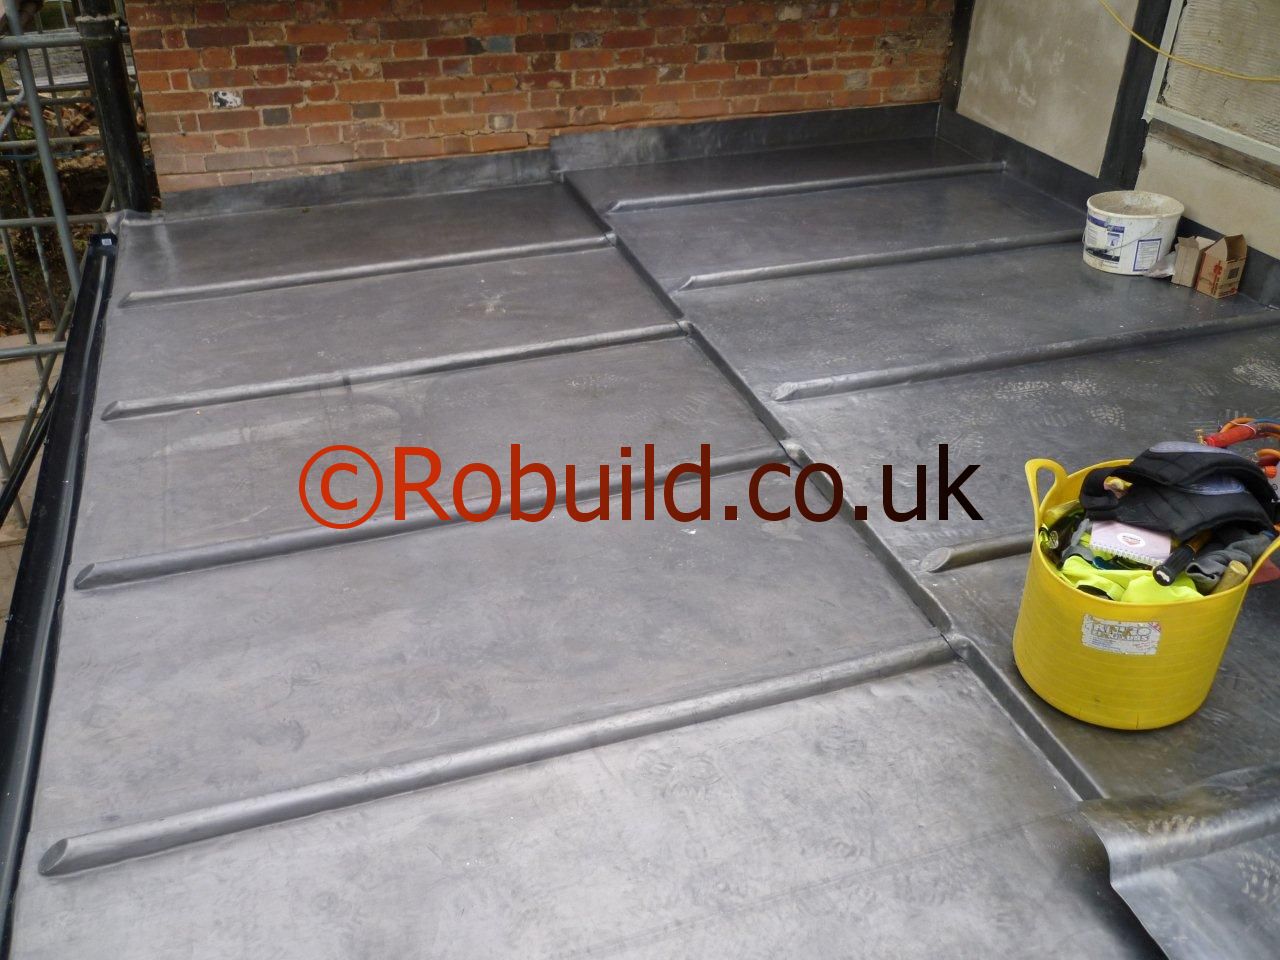
Rear Extension Lead Roof

Rear Kitchen Extension Flat Roof

Kitchen Extension Pitched Roof

One storey house extension

2 Storey Home Extension

Kitchen Extension Flat Roof

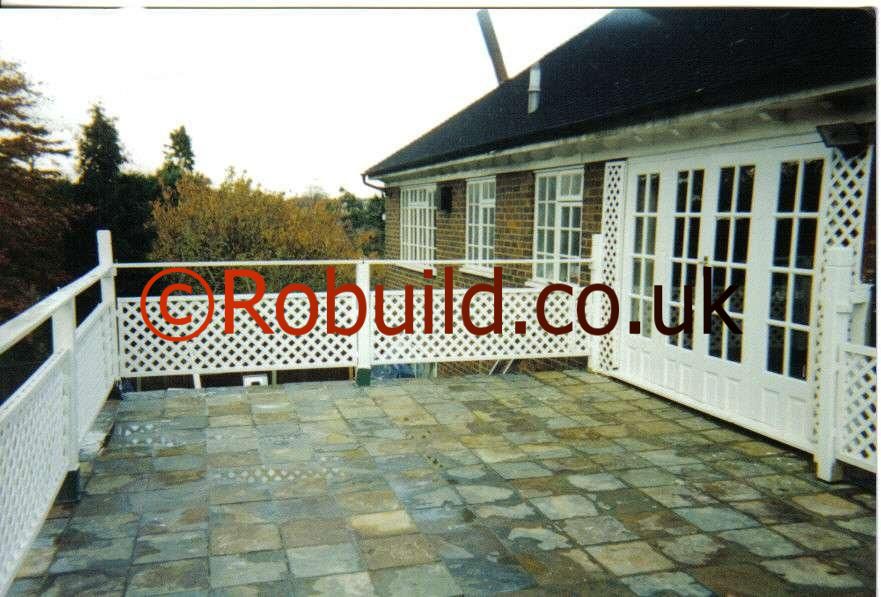
House extension flat roof terrace
terrace extension balcony
House extension flat roof terrace

Kitchen Extension
Kitchen Extension 1 storey

Rear Kitchen Extension

Side two storey House Extension

Rear extension 2 storey

Side return Extension
side return extension
Side return Extension

Side Extension
Side Extension

Side return 2 storey Extension

Side extension Conservation area

L shaped 1 storey side & kitchen extension
L shaped 1 storey, side & kitchen extension

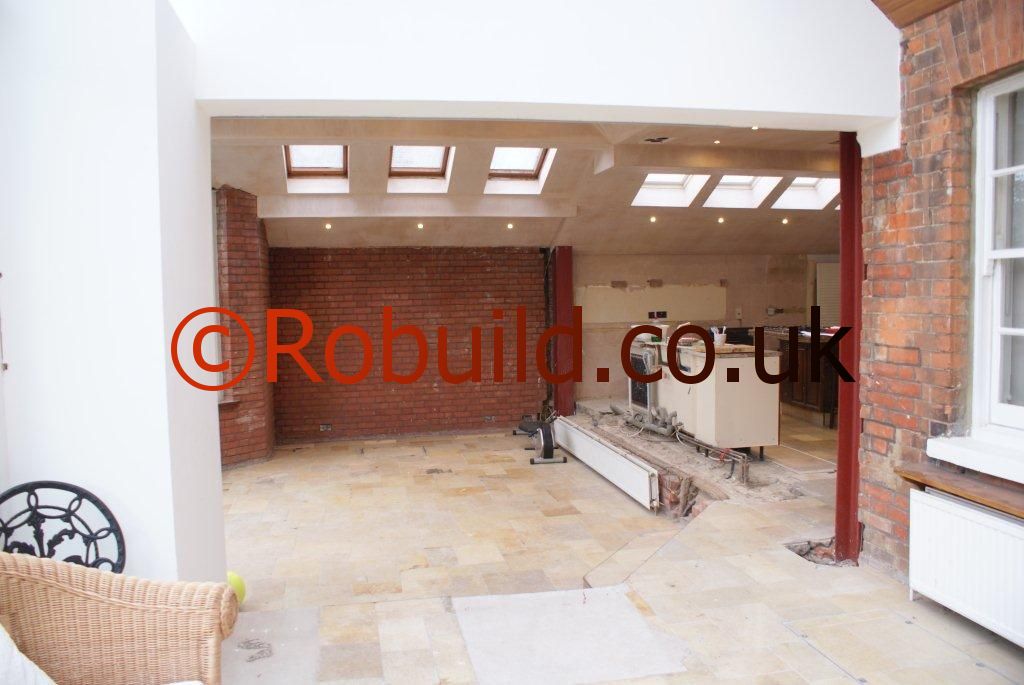
L shaped 1 storey, side & kitchen extension - Interior view , open plan floor
L shaped 1 storey, side & kitchen extension – Interior view , open plan floor

L shaped 2 storey extension - Front view

L shaped 2 storey extension

 L shaped 2 storey house extensions
L shaped 2 storey house extensions

Interior - Open plan L shaped extension
Interior – Open plan L shaped extension

Two storey side and rear extension

Two storey side and rear extension

Kitchen Extension
Kitchen Extension

Interior Kitchen Extension - Open plan floor
Interior Kitchen Extension – Open plan floor

Side rear extension
Side rear extension

Side return extension

Rear Side 2 storey extension
Rear & Side 2 storey extension

Kitchen rear home extension

Planning Permission

This guidance reflects increases to the size limits for single-storey rear extensions which apply between 30 May 2013 and 30 May 2016, and the associated neighbour consultation scheme.

An extension or addition to your house is considered to be permitted development, not requiring an application for planning permission, subject to the following limits and conditions:

No more than half the area of land around the “original house”* would be covered by additions or other buildings.
No extension forward of the principal elevation or side elevation fronting a highway.
No extension to be higher than the highest part of the roof.
Single-storey rear extension must not extend beyond the rear wall of the original house* by more than three metres if an attached house or by four metres if a detached house.
In addition, outside Article 1(5) designated land* and Sites of Special Scientific Interest the limit is increased to 6m if an attached house and 8m if a detached house until 30 May 2016.
These increased limits (between 3m and 6m and between 4m and 8m respectively) are subject to the neighbour consultation scheme.
Maximum height of a single-storey rear extension of four metres.
Extensions of more than one storey must not extend beyond the rear wall of the original house* by more than three metres.
Maximum eaves height of an extension within two metres of the boundary of three metres.
Maximum eaves and ridge height of extension no higher than existing house.
Side extensions to be single storey with maximum height of four metres and width no more than half that of the original house.
Two-storey extensions no closer than seven metres to rear boundary.
Roof pitch of extensions higher than one storey to match existing house.
Materials to be similar in appearance to the existing house.
No verandas, balconies or raised platforms.
Upper-floor, side-facing windows to be obscure-glazed; any opening to be 1.7m above the floor.
On designated land* no permitted development for rear extensions of more than one storey.
On designated land no cladding of the exterior.
On designated land no side extensions.

Planning Permission for Extensions

Conversion and Renovation

When our London based Building Company started working on a terraced house in north London, it was in a dingy and dilapidated state-both inside and out. The builder undertook the job of a complete conversion and, after much careful and imaginative planning, there was a dramatic transformation, producing three separate, colourful and attractive flats. The house consisted of three floors and a basement. With help from the Architect and an interior designer, we were called in to do the converting, decorating and furnishing. The architect’s brief was to create three self-contained units, fully fitted and furnished.

demolition renovation

The basement and ground floor became a roomy maisonette; the first floor a compact flat, designed for an older couple; and the top floor, a modern and streamlined flat. Originally the top consisted of two rooms one front, one back and a central dividing corridor, with an access door at either end. The architect decided on an open-plan scheme; from a space of only 180 square feet, he had to accommodate lounge and kitchen/ dining areas, a bedroom and bathroom. By removing hampering doors and partitioning walls wherever possible, the builders created fluidity of space which gives the top floor flat a feeling of being larger than it actually is.

An illusion of space, emerging front clever visual treatment in a conversion, can be as important as the actual amount of space available. The first step was to take away the wall by the staircase the internal wall of the original back room making the central corridor into an ‘island’ surrounded by oceans of space. Advantage was taken of the fact that the two corridor walls couldn’t be removed because of the support they provided for the loft ceiling. Most of the old lath and plaster was removed from the studding. Both ends of the ‘island’ were then closed in to create a streamlined effect-a feature of the interior design which is repeated throughout.

A bathroom was then put into the ‘island’, maximising on the old corridor space. Special ventilation was then provided to meet the British Building Regulations. The new, long and narrow bathroom has a wc at one end, wash basin in the central area, and a shower unit at the other end. An outstanding feature of this room is the mock windows which help to eliminate a closed-in or confined feeling. The sky and floral scene which forms the mock window over the wc was incorporated in a parallel of laminate by special ‘artwork’ processing during manufacture. The design is indestructible and makes for easy cleaning and care. The areas on either side of the ‘island’ bathroom were then devised.

bathroom renovation

On one side is the spacious lounge and the staircase and on the other, the cooking, eating and sleeping areas. In the latter section a useful prefabricated unit was designed to serve a dual purpose: a room divider between the sleeping area and the kitchen/dining area and, secondly, it incorporates a complete array of kitchen fitments on one side and a bedroom storage hanging cupboard on the other. This prefabricated unit is an ideal example of how one item can be used to best advantage through intelligent forethought. Some partitioning was needed between sleeping and cooking areas as well as kitchen appliances and storage space for clothes.

All these requirements were cunningly brought together in this well organised unit. There is a full glazed door at either end of the wall unit which prevents heavy kitchen smells from getting into the bedroom, while also conveying freedom of movement, central to any open-plan scheme. All the appliances are built in, including a handy eye-level wall oven, a modern hob and a small refrigerator.
kitchen renovation
A waste disposal unit fitted into the sink overcomes problems of rubbish disposal. The practical laminate finish is designed with minimum cleaning and maximum visual appeal in mind. Facing the kitchen unit is a dining table with a gracefully attached bench. In the alcove adjoining the block-up chimney breast, a useful cupboard unit, including a handy shelf, was built. No space could be wasted in designing this flat-every inch had to be utilised to the full.

South Kensington

House Extensions, Loft Conversions, Basements, Garage Conversions, Kitchen Extensions

Our building company covers South Kensington & Chelsea area. All types of building work ,plumbing, electrical, carpentry,decorating,roofing,gardening.

Contact us for a friendly chat.

bricklayers london

Insulating ceilings

In most houses, the cheapest and most efficient insulation is that installed in the roof cavity or loft. One way is to fill the gaps between the ceiling joists with lightweight loosefill insulation, which is simply poured in from a bag. It may be made of vermiculite, cork or polystyrene foam granules. Loosefill insulation is not suitable under draughty roofs with open eaves.

The wind blows it away. But in calm air it insulates as well as anything else. A 50mm layer gives a U value of 0.15; a 75mm layer gives a U value of 0.10.
A 76mm layer is an ideal amount, except in very cold or very hot climates. 50mm is reasonable, but less than that is simply not worthwhile. In Britain, the material comes in standard-sized 13kg bags. One bag covers 2.3sq m to a depth of 51mm or 1.6sq m to a depth of 76mm. These measurements take the ceiling joists into account, so when you are measuring the floor area of your loft or roof cavity, measure the total area and do not subtract anything for the area taken up by the joists. When you have filled one space between a pair of joists, level the granules off to the correct depth with a piece of cardboard cut to fit between the joists and slid along them to act as a rake.

This will show you whether you have poured in the right amount, and provide a guide for all the other spaces. Make sure that you cover every part of the area with an even layer of granules. Even quite a small gap will lose a surprising amount of heat. The only gap should be the trapdoor leading into the loft from the room below. In most houses, the joists form a box shape around the trapdoor, so you will not have any trouble with granules falling through.

If not, you can box off an area between the neighbouring joists. If your loft or roof cavity is too draughty for loosetill insulation, the right type to use is fibreglass matting, which comes in rolls in several standard widths. Choose a width slightly wider than the space between the joists, so that it fits tightly without gaps. If you cannot get the width you need, it is easy to cut pieces to shape with a handyman’s knife. Cut the strips too long as well as too wide, and tuck the ends up under the edge of the roof for a better seal. You can glue a small piece of matting to the top of the trapdoor to seal that off as well.

Fibreglass matting comes in several thicknesses from 25mm; U value 0.16 to l00 U value 0.08. There is also a wider version that goes over the top of the joists. It is easier to lay, but you cannot see the joists alter it is laid, so next time you go up there, there is a danger of putting your foot through the ceiling.

London loft conversions

Loft Conversions

A loft conversion is the process of transforming an empty attic space into a functional room, typically used as a bedroom, office space, a gym, or storage space.
A loft conversion for your house is considered to be permitted development, not requiring an application for planning permission, subject to Regulations.


A cutting-edge two-bedroom loft apartment in Paddington


This stunning refurbished former church in Tower Hamlets


Loft Conversion with ensuite bathroom,Clapham


A spacious one bedroom loft style flat in Notting Hill, complete with roof terrace, in a white stucco fronted period building


New York loft-style penthouse in Chelsea


A three-bedroom loft-style penthouse in Wapping, decorated in contemporary style


A Wandsworth loft conversion set over two floors, with double height ceilings and wooden floors


Large windows on both sides and a roof light over the kitchen area flood mean this Spitalfields lloft apartment is light and airy


In family-friendly Wimbledon is this two-bedroom left apartment, only 500m away from the Common


This four-bedroom home in the Richmond suburb of East Sheen has a well-presented loft conversion.

Building a home office in the garden

Old buildings can be modernised and redesigned for specific types of work, or equipped with the basic essentials of good lighting, working surfaces,desks, cupboards,internet connection, water and electricity supplies so that they are easily adaptable for many offices. Don’t be afraid of the initial expense incurred in having water and electricity laid on, because in the long run it is cheaper than late extensions. You are also more likely to give regular use to somewhere that is well equipped and comfortable.

garden office

The ideal solution when working from home

Where there are no existing buildings suitable for conversion, a new building designed specially as an office is a dream well worth pursuing (convincing your family of this will probably be easier if your plans include a children’s area). Once you have made the decision to build, do not skimp on the size or complexity of the building. Your garden will probably already have separate sheds, fuel store and garage. Rather than adding to this list by building a workshop, consider the possibility of having a single multi-purpose building incorporating all your outhouses. This will look tidier, and also reduce maintenance costs. If the building stretches across the bottom of your garden, you could perhaps reach it via the garage.

In this example, the clean ‘studio’ area is kept well away from the garage. The workshop in the centre is equipped simply so that it can serve as an over-spill area for either the garage or the studio with a minimum of alteration. Such a building will have a fundamental influence on your property, and will give an opportunity to landscape your garden during the building stages. Once you have chosen where to set up your office, you can begin to plan what is going to go in it in detail, but as with all the designing that you carry out for your home, resist the early temptation to let your enthusiasm run away with you. Spend your time and thought not only in drawing up your plans, but also in writing down a list of all the things you would ideally like to have in your office. When making your final decisions consider the following: function (this should take precedence over appearance); lighting; heating and ventilation; storage; and floor treatments.

Don’t worry if your furniture and equipment do not all ‘line up’ visually, but let considerations of safety and function dictate the layout. For instance, if a particular operation suggests that you need a desk at sitting level and one at standing height, or that you need a working surface beside you as well as one in front for ease of assembly, then design the layout in this way. ‘There will always be some equipment which imposes strict limitations on your arrangements, for example, equipment that must be permanently fixed, like a computer,printers. Some office equipment require a minimum amount of space around them.
Multi-purpose offices will impose so many limitations that you will have to decide on the most important factors-the first of which must always be safety.

Lighting for garden offices

Good lighting is vitally important. Have windows as large as possible, though bearing in mind that they will increase your heating bills in winter if they are too large. Position precision equipment and your main work desk close to the natural light, taking care that your body will not cast a shadow over your work. To provide light from the same direction throughout the day, place electric lights between you and the windows. Put power points as close as possible to working areas-preferably above and below the office desk, rather than close to the floor. This avoids stooping which can be dangerous in confined office spaces.

Planning an office or workshop

Finding space to work or for pursuing hobbies only too often means ‘stealing’ it from your living area, and having to break off every time the family wants to eat a meal, use the computer or watch television. And working in inadequate offices or cramped surroundings often means being content with poor equipment, which leads to shoddy workmanship and can be dangerous. So wherever possible try to set aside an office for yourself, or given over entirely to hobbies such as carpentry which need plenty of space and specialist equipment.

garage home office

A home office not only alleviates these difficulties, but also provides a place where you can relax for a while away from your daily routine and the rest of the family. If you have an office which is properly fitted up, working from home will take less time and run more smoothly. An office is also a good selling point if you decide to move. Every home should have one If you are moving into a new house, then the major considerations such as bathroom fitments, kitchen layout and so on will occupy much of your time and thoughts.

But this is precisely the time to recognise the need to plan for areas which will be devoted to leisure activities such as play- or familyrooms, and workshops, particularly if you intend to do most odd jobs yourself. If you have lived in your home some time and intend to stay there, then a re-allocation of the available space may be called for, especially if your family includes keen handymen. You may be lucky enough to have a home large enough for you to set up a permanent indoor workshop. But remember that noise may be a problem. The noise you create seems far louder and more irritating to others than it does to you.

Cellars are generally the best places to install indoor workshops, as they are often large enough to be split into more than one area for separate activities, and their position underground helps to restrict the spread of noise. But they are not ideal to be converted into offices. Lofts are less suitable because they tend to become very warm in summer; many hobbies involve some physical effort, which would make working in a hot loft unbearable.

You might also have to impose a ‘curfew’ and curtail night time work there because of sleeping children. Both cellars and lofts often share the disadvantage of having an over small entrance, don’t be caught making a beautiful wall unit which won’t go through the door !

Many people transform their garage for crafts and hobbies; it is quite suitable for all types of home offices too. If there is additional car parking space on your premises, it may be worth building a separate carport and converting your garage into a permanent workshop. If you use the garage regularly for heavy carpentry or metalwork, the car tends to spend most of its time outside anyway. However, for most people a garage serves both purposes well enough.