Before starting decorating or any building works, the flooring must be protected.

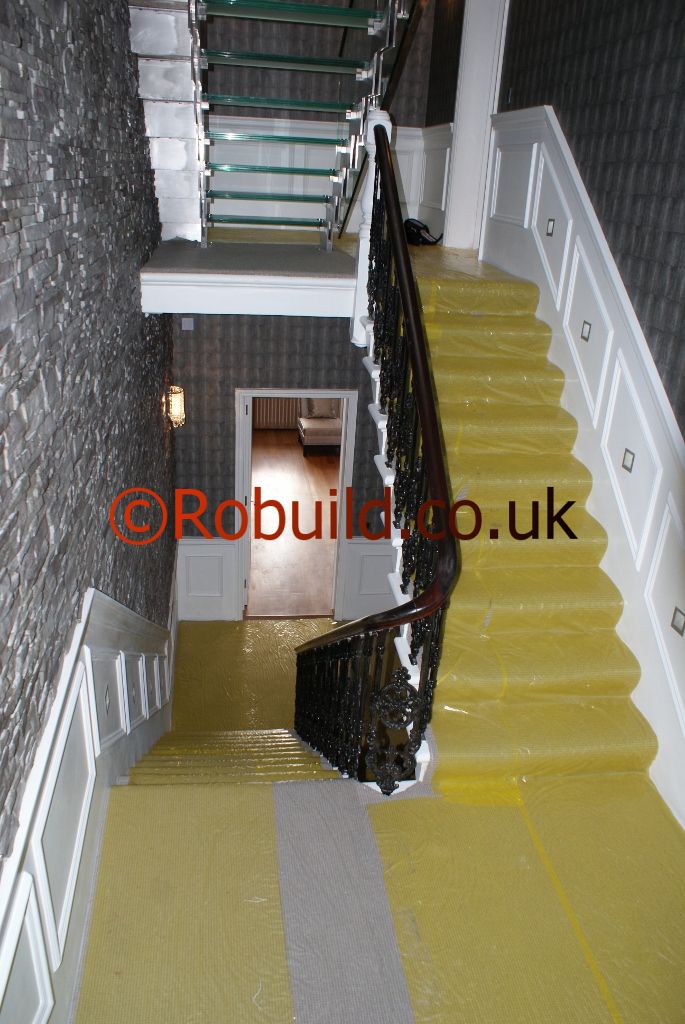
Furniture and walls can be protected from scratches and paint by using standard plastic sheets or dust sheets.
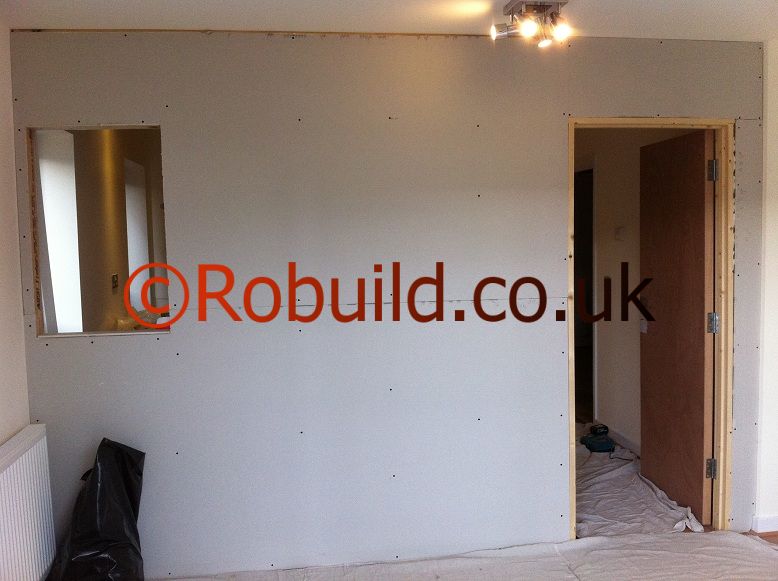
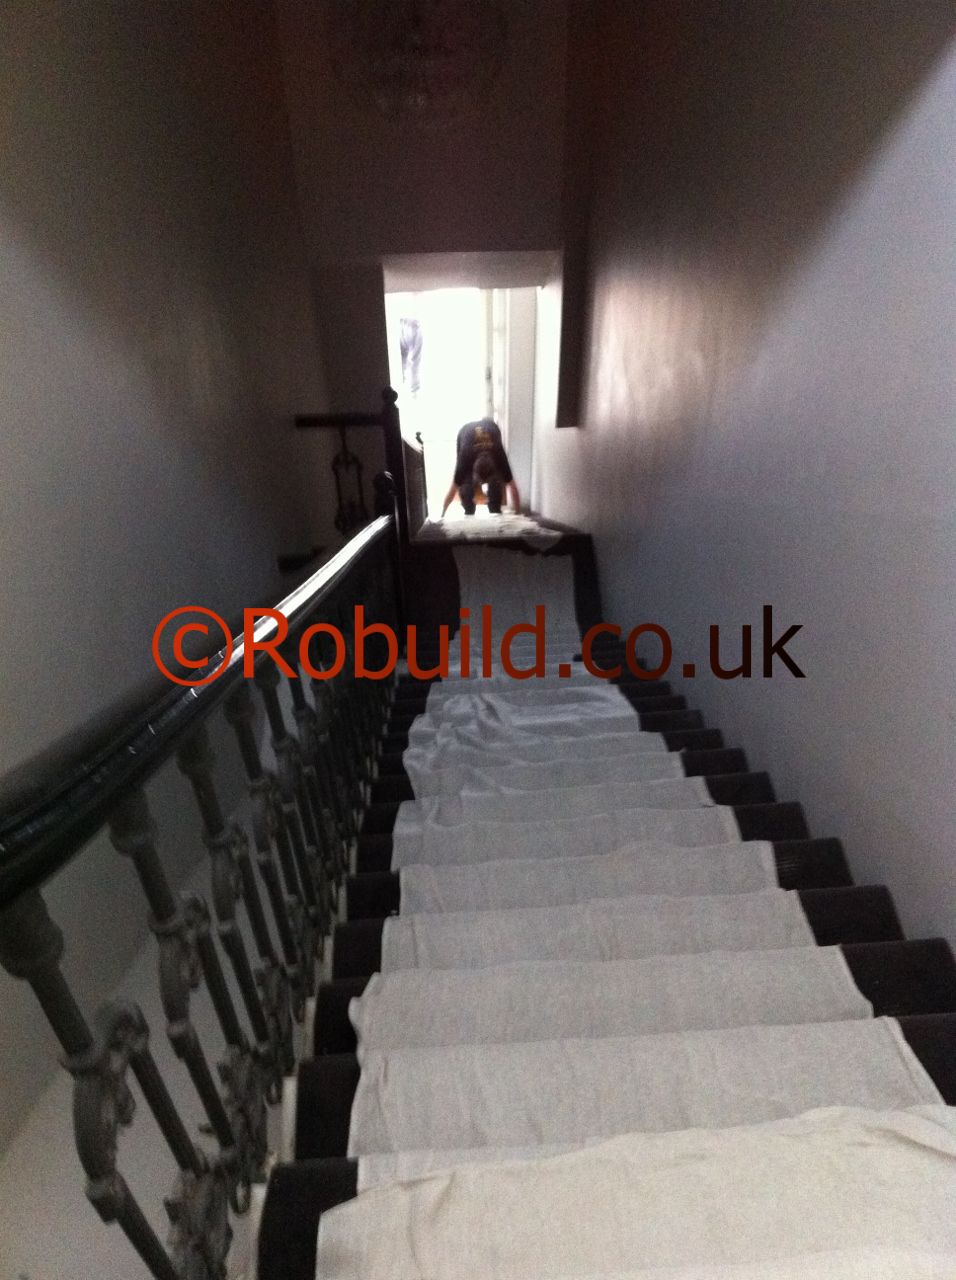
Painters and Decorators in London
Before starting decorating or any building works, the flooring must be protected.


Furniture and walls can be protected from scratches and paint by using standard plastic sheets or dust sheets.


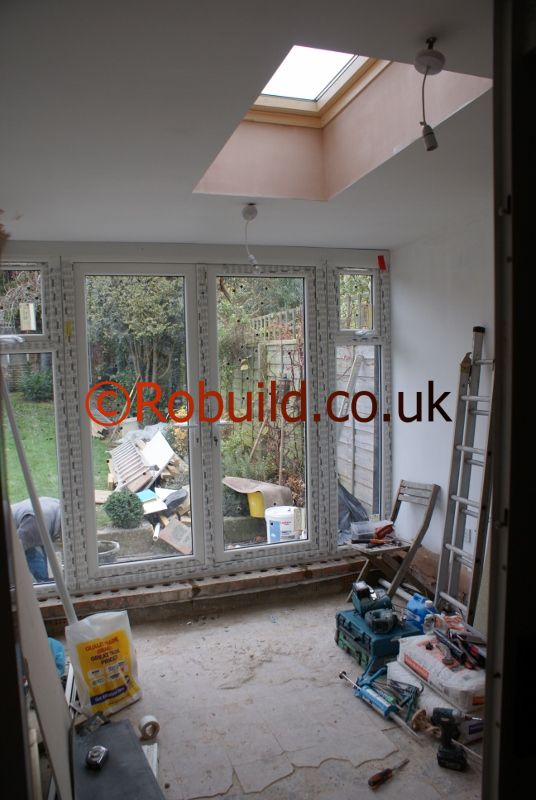

Metal guttering should be well painted for protection. First test the pipework to see if it has been treated with bituminous paint. To do this apply a little white gloss to a small area of the gutter. If the gloss turns brown the coating is bituminous and you will have to apply an aluminium primer to prevent it ‘bleeding’ through the new paint. (Remember that the guttering may have been painted with bitumen on the inside only.) Paint the outside of the guttering with an undercoat and a top coat to complement the rest of your exterior decoration. It does not matter what colour you paint the inside of the gutter since it cannot be seen from the ground, so here is the ideal opportunity to use up any leftover gloss from other jobs.
Curtains are one of the many design factors and any room and, if the windows are large, they can become its most important feature. To get precisely the effect you want, pay attention to the many details which make one pair of curtains look completely different from another. Make a list of these and go through each point, deciding what suits your taste and your window.

Types of heading
A curtain’s heading is the way it is gathered before it is attached to the track and the type of heading you choose will dictate the amount of material you need for the curtain.
Gathered
This type is the easiest to make and the cheapest since it requires just one and a half times the width of the track in material. Looking very much like the random gathering on a skirt waistband, it is suitable for curtains where the top will be hidden behind a pelmet or for simple, short, unlined curtains.
Pencil pleats
Also very easy to do, this heading is more even and formal than the gathered type and needs two to three times the track width in material to look effective.
Pinch pleat
A very formal triple pleat which alternates with flat sections of material. The finest pinch pleats are gathered and sewn by hand and take two to two and a half widths of the track.
Cartridge pleats
This heading consists of single, cylindrical pleats often stuffed with cotton wadding or tissue paper so they keep their plump shape. Like pinch pleats, they alternate with flat sections of fabric and are still done by hand in curtain workshops, taking about double the track width.
Heading tape
Although the best pinch and cartridge pleats are still hand-made! you can buy heading tape for all four types. One company now distributes a slightly different kind of heading tape which gives a smocking effect at the top of the curtain. This tape is sewn with four rows of stitching and requires about twice the width of the track in material. In theory, all you have to do is sew these tapes to the top of the curtain and pull the cords to get the required heading; but in practice some headings are easier to handle than others. To get the best results, follow the manufacturer’s instructions carefully and never skimp on material. It is much better to buy a generous quantity of cheap cotton which will always look luxurious because of its fullness, than to use too little of an expensive fabric which will look mean no matter what it costs. If you are planning to use one of these tapes, ask your retailer for a cord tidy at the same time. When you pull your curtains up to the required width you will have a length ol cord left over which you will need when you want to pull them flat for cleaning this inexpensive accessory keeps this length of cord out of the way.

Deciding on length
Our grandmothers usually had heavy curtains which trailed on the floor to keep out draughts. Nowadays there are two main lengths: to the sill or to the floor – anything in between will give a very awkward ‘halfl-mast’ effect. If your curtains will hitting to sill level only, keep them just above the sill or 50 – 75mm below. Floor length curtains should clear the floor by about 13mm to protect them from dust and dirt. If they are very long and heavy, allow 50mm clearance since they are bound to drop after a time. Sill length curtains are best when there is a radiator under the window since long ones will prevent heat getting into the room. If you need light and privacy at the same time, choose cafe curtains which are usually hung to sill length from a pole fitted halfway down the window. Whichever style you decide on special weighted tape sewn into the hem will make your curtains hang more neatly.
Lining and interlining
Unless you particularly want the light to filter in through your curtains, it is almost always better to line them, usually with cotton sateen. Besides helping them to hang more attractively lining protects curtains from dirt and from the sun which will fade and damage any fabric exposed to it over a long period of time. The lining fabric can be hung separately from your curtains so you can take it down for washing, but you will find the curtains look better if the lining and fabric are treated as one. To give the outside of your house a co-ordinated appearance use the same colour lining throughout. Cream or ecru is usually best unless most of your curtains are white or have a white background, in which case white lining would be more appropriate. There are several special linings on the market which add more to the effectiveness of your curtains than ordinary ones.
Lightproof
Available only in cream, this lining costs more than the normal types but is very useful where you want to block out all the sun’s rays, such as in a nursery where children could have difficulty sleeping while it is still light.
Milium
This has a special aluminium backing which keeps out more light than ordinary sateen and helps to insulate your home against cold in winter and heat in summer. Although the side which faces the curtain fabric has a metallic look, the other side is quite plain and available in a wide range of colours.
Pyrovatex
A flame-resistant material often used in public buildings and office blocks. It consists of plain sateen treated with a fireproof substance.
Interlining
Interlined curtains, which are especially thick, soft and heavy, have an additional layer between the curtain fabric and the lining. Usually called bump, this is a thick cotton which has its surface brushed up to make it thicker and help it cling to the other two layers. Interlined curtains offer effective insulation and are particularly good in rooms which are subject to cold and draughts.
Pelmets and valances
A pelmet is a piece of buckram (coarse linen or cloth stiffened with gum or paste) or wood which you place over the top of the curtains to conceal the track and heading. If this covering is gathered or pleated, it is called a valance, while a single piece of draped fabric is called a swag. With the advent of plainer, good looking tracks, these are becoming less common; but if you find your track unattractive, fix a pelmet or valance yourself or buy one ready made.
Curtain trimmings
The most common curtain decoration is a set of tie backs which give the window a formal look and hold the curtains back so as much light as possible is allowed in. If your window is very narrow, make a single curtain and hold it to one side with a tie. Link your curtains to other design elements in the room by fixing a border decoration or band in fabric which has been used for upholstery, cushions or lampshades. One particularly fancy curtain is called a festoon and is lifted up by cords running vertically at intervals across it, rather than pulled to each side. A very old fashioned style of curtain, these were often used in restaurants and public houses.
Choosing fabric
Before you buy your fabric measure carefully, calculating the width and length of material required from the track and not from the window itself. There is no such thing as an average window and you will not know what you need unless you take precise measurements.
Interior & Exterior Painting & Decorating. Refurbishment & Renovations. Call for a Free Quote
If the ceiling is in good condition, size the surface and leave it to dry before papering. If the Plaster is uneven, line the ceiling first for the best result. As with walls, always hang lining paper at right-angles to the decorative covering so the joins do not coincide.
Hang ceiling paper parallel to the main window in the room so the joins are not too noticeable. Measure the width of the paper, deduct 6mm for turning onto the end wall and mark this distance in pencil at both sides of the ceiling. Chalk a length of string and fix it at one side with a drawing pin. Stretch the string between the two pencil marks and pluck it so the chalk is transferred to the ceiling. Cut the number of lengths required, allowing for the pattern to match and for trimming at both ends. Paste and fold each length concertina-fashion as for lining paper. Hang the first length flush against the chalk line. Unfold the last pleat and smooth it onto the ceiling. Release the paper one pleat at a time, supporting the rest of the Paper with a spare roll. Brush out each section onto the ceiling. Turn 6mm onto the end and side walls then trim and sponge away any surplus paste. Hang the other lengths in the same way, butt-joining the edges and turning 6mm onto both side walls. Remember to allow 6mm in the width of the last length for turning onto the end wall. At a ceiling light, make star-shaped cuts as for projecting light switches. Smooth paper round fitting and trim flaps.
Hanging wallpaper the correct way is all important, since the final effect will be ruined if you make awkward turns in the wrong places or don’t hang the paper straight. And always remember to prepare the surface properly.
Putting up lining paper
If using lining paper, hang it on the wa1ls horizontally to avoid the joins coinciding with the vertical joins of the decorative paper. Cut the paper into lengths 25mm longer than the width of the wall to allow for 12mm turns onto the adjacent walls. Lay one end of the length on the pasting table, leaving the rest to hang to the floor, and paste this piece carefully. Fold over, with pasted sides together, about 380mm of paper. Then fold over 760mm and turn back the first folded piece to make pleats. Continue pasting and concertina pleating in this way until you near the end of the length, then paste this end and fold it over to meet the pleats. Start hanging the paper from a top corner of the wall, releasing one fold at a time and smoothing out with a roller or brush. Work right round and down the wall with subsequent lengths in the same way, butting adjoining strips together.
Marking the starting point
The usual starting point for vertical hanging is on a wall adjacent to a window so any overlap between adjoining lengths will not cast a shadow. When using paper with a large pattern, centre the pattern on the chimney-breast and on other main features of the room, if desirable, to give an overall balanced look when the room is finished. On plain wall You must establish a true vertical to align the edge of the first length. Measure out from the corner of the starting wall a distance l2mm less than the width of the paper (this extra 12mm will be turned onto the window wall). At this point suspend a plumb bob from a small nail as high up the wall as possible. Mark the wall at several points behind the line and use a straightedge and pencil to join the points together.
On chimney-breast
Measure from the pattern centre to the left-hand edge of the paper. Measure this distance to the left of the centre line on the chimney-breast, suspend a plumb bob at this point, mark the vertical line and hang the first length to one side of it. Hang the second length to the other side of the 1ine, butting up to the first length. Alternatively, you can hang two widths so the motifs at the edges to be butted match up in adjacent lengths at the centre of your chimney breast or projection. Suspend a plumb bob at the centre of the projection, mark the line as before and hang the first length against this. Hang the second length on the other side of the centre line.
Cutting lengths and pasting
Cut the paper into lengths, each about 200mm longer than the height of the wall to allow for trimming later. If the paper has a set or drop pattern, match the lengths on the pasting table; remember to work from two or even three rol1s at once to reduce wastage. As you cut the lengths number them on the back so you can tell at a glance the order in which to hang them. Also indicate which end is to be hung at the top of the wall to avoid hanging the paper upside down. Lay the lengths, decorative side down, on the pasting table. Line up the end and far edge of the first sheet of paper with the end and far edge of the table. allowing it to overhang by 6mm. At the other end let the rest of the paper fall onto the floor.
Imagine the width of the paper is divided into three strips; paste the centre strip, then paste the section farthest away from you, working towards the edge (never work from the edges towards the centre as the paste will seep under the paper and spoil the decorative face). Pull the paper towards you so the near edge overhangs the table by about 6mm and paste this final strip, remembering to work from the centre towards the edge. Fold over the pasted end to the centre of the length, pull the unpasted paper onto the table and paste and fold as before. You do not need to leave the paste to soak in with thin papers, which you can hang immediately. Heavier papers have to soak for about ten minutes. To save time lay the pasted length (with the ends still folded back onto the centre) on a clean surface and paste the next length. It is a good idea to write the time of pasting on the back of each length to ensure each piece soaks for the same time.
Hanging the paper
Drape the pasted length over your arm, making sure you remember which end is to go at the top of the wall. Unfold the top hall of the length, keeping a firm hold on the lower half so it does not stretch. The positioning of the first length is critical. Align the edge of the paper with the line you marked on wall and position the top with the ceiling line, allowing a 75-100mm overlap at the top for trimming and folding. Fold this top edge overlap back onto the pasted side to prevent paste getting on the ceiling: if paste runs onto plaster or woodwork, remove at once with dampened sponge. Smooth down the centre of the paper with the hanging brush then work towards the edges to expel any air bubbles beneath the paper. Open out the lower half of the paper and repeat the procedure, folding the bottom edge overlap in the same way. Run the back of your scissors along the edges at the ceiling and skirting board to mark the trimming line. Peel back the paper and cut carefully along the crease before brushing the edges back into place and smoothing down. Hang subsequent lengths in the same way. matching the pattern (if any) at the top with the length already hung and position the edge of the new length as close as possible to the first. Slide the length along to form a neat butt join. After hanging each length go over the joins with a seam roller, unless the paper is embossed.

For preparing surface wallpaper stripper or warm water and washing-up liquid wallpaper paste (for soaking heavyweight paper) wire brush or serrated scraper steam stripper (if needed) wallpaper stripping knife medium wet and dry glasspaper cellulose filler (if needed) matchsticks (if needed) glue size or wallpaper paste (for sizing walls) fungicidal adhesive (for sizing if using vinyl paper) old brush or paint pad.
To remove the existing paper you will have to soak it with a solution of warm water and washing-up liquid or proprietary wallpaper stripper. Allow extra soaking for heavyweight papers – add a handful of wallpaper paste to the water so the water stays on the wall long enough to soak through to the adhesive.
Stripping off
Score the surface of washable wallpapers with a wire brush or serrated scraper to allow the water to soak through to the backing. If the paper is several layers thick or you cannot score it easily, it may be worth hiring a steam stripper to do the job quickly, but use it carefully since it can damage the plaster underneath. Remove the paper with a wallpaper stripping knife; don’t be too vigorous and try not to dig the knife into the plaster, as you will have to fill any holes you make. Remember you can strip certain types of wall covering just by loosening a corner and pulling off each length, leaving the backing paper on the wall. If this is firmly fixed, use it as a base for re-papering or soak and strip as already described. Rub down the bare walls with wet and dry glasspaper to remove any final nibs of paper. Fill any cracks or holes with cellulose filler and, when hard, rub down any ridges with medium wet and dry glasspaper to form a flush finish. If you have removed any fixtures, push matchsticks into the screw holes, allowing them to protrude about 6mm. When you hang the new wall covering ease it over the matchsticks so they poke through the paper and indicate the position for refitting the fixtures later.
Sizing the walls
Before papering you will have to size sound, porous walls; this is to improve adhesion and ensure the water from the paste is not absorbed too quickly for you to position the paper correctly. You can buy a proprietary glue size or make your own by diluting wallpaper paste according to the manufacturer’s instructions. When using vinyls, size with a diluted fungicidal adhesive since mould may develop on the wall if you use a diluted cellulose adhesive. Apply the size liberally to all parts of the wall with an old brush or paint pad; take care to wipe off any that gets onto painted woodwork immediately as it will be difficult to remove later. Leave the size to dry thoroughly.
Estimating quantity Measure the height of the room from the skirting to the picture rail or ceiling and also the distance around the walls, including doors and windows. Check to see how many rolls of wallpaper you need. If your measurement for the distance around the room falls between two measurements on the chart, use the larger figure. Basic measurements will be sufficient for plain or free match papers. Where you need to match the pattern you must allow for wastage at the foot of each length according to the depth of the repeat; usually an extra roll for every five is enough, although you may need to allow extra if the repeat pattern is very deep. Extra paper will also be needed if the room has recesses or projections since the pattern should be centred on these to give a balanced look.
Buying the paper
Most wall coverings are sold in rolls 10m long and 520mm wide. They are normally supplied ready-trimmed, but if you do select a paper with margins ask your supplier to trim them for you – don’t attempt it yourself. Wallpaper is printed in batches and the colour may vary from batch to batch; make sure every roll you buy bears the same batch number. It is worth buying an extra roll at the outset since you may have trouble obtaining another roll of the same batch later on. Check if you can buy a spare roll on a sale-or-return basis. If you realize halfway through a job that you will not have sufficient paper and you cannot buy another roll from the same batch, use the odd roll in an area where any colour variation will not be so noticeable, such as on a short wall or in a recess. Unfortunately even corresponding batch numbers do not always guarantee an exact colour match. Before hanging the paper inspect the rolls in a good light; if you spot any shade differences, decide the best sequence for hanging. Imperfections in the paper itself can be eliminated when you cut the paper into lengths. But if you find inconsistencies in the pattern take the roll back to your supplier, since you will have a lot of wastage if you try to eliminate ‘repeat’ defects. If after hanging the paper you find the pattern on adjoining lengths will not align, it is probably the result of not soaking the rolls with paste for the same length of time or stretching the paper when putting it up.
Storing wallpaper
Always store rolls of wallpaper flat; never stand them on end or you will damage the edges and make it difficult to obtain neat joins between lengths when hanging.
Consider the size and shape of your room before buying patterned wallpaper as the design may appear to alter the room’s shape; height is increased by vertical stripes, while horizontal lines make the ceiling seem lower.
Certain designs will emphasize structural faults in the room, so choose patterned paper carefully.
When it comes to choosing wallpaper, go for better quality, medium or heavyweight papers rather than thin, cheap ones which tear and stretch easily when pasted and need very careful handling. Cheaper wallpapers have the design printed directly onto the paper; better quality papers are usually given a protective coating before the pattern is printed. Top quality ones also have a clear coating over the pattern to protect the surface.
Basic types
The following run-down on the various types available will help you to select the right wallpaper for specific areas. Washable The paper is covered with a clear water-resistant coating of matt or gloss PVA (polyvinyl acetate) making it ideal for use in the kitchen or bathroom.
Vinyl
A layer of PVC (polyvinyl chloride) is fused onto a paper backing to produce a really tough vinyl-faced covering that is steam and water resistant and can even be scrubbed clean.
Ready-pasted
Dried fungicidal adhesive on the back does away with the traditional pasting operation. To activate the paste you draw each length of paper through a water-filled trough (usually supplied with the paper) immediately before hanging.
Polyethylene
This type is lighter than ordinary wallpaper and warm to the touch. It is easier and quicker to hang than other wall coverings because you paste the wall rather than the paper and you do not have to cut the paper into lengths, but use it straight from the ro1l. Work with the special adhesive recommended for this type of wall covering.
Dry-strip
Washable and ready-pasted papers already described are not easily removed using the conventional soak-and-strip method since the water cannot penetrate the water-resistant coating to act on the adhesive. But dry-strip papers and vinyls are available; you peel away the decorative face to leave a paper backing on the wall. If this backing is firmly fixed, use it as a base for re-papering or strip it off in the usual way.
Lining paper
Thin paper used under the decorative wall covering to give a high quality finish. It is available in several weights: use light papers on smooth wall surfaces and heavier papers to help conceal uneven surfaces. Hang lining paper horizontally on the walls so the joins between lengths will not coincide with the vertical joins of the decorative wall covering.
Selecting a pattern
If you decide you would like a patterned paper, remember different types of pattern demand varying degrees of skill to apply. Complicated patterns are not easy to match and often mistakes only show when the lengths have been hung.
Free match paper
The simplest type to apply since it has random motifs that do not require matching. It is also the most economical as there is no wastage.
Set patterns
Demand more skill since you have to match the design horizontally across adjoining lengths. There will be some wastage (especially if the repeat does not fit in with your room height) but this can sometimes be minimized by cutting lengths from two or more rolls at a time.
Drop patterns
Can be difficult to match as the design runs diagonally across adjacent lengths – the first length aligns with the third, the second with the fourth, the fifth with the seventh, and so on. Wastage is inevitable, but again this can be minimized by working from more than one roll.
Effects of patterns
Before choosing a design consider the size and shape of your room as the pattern on the wallpaper may appear to alter its dimensions. Vertical lines will seem to increase the room’s height, while horizontal stripes will give the opposite effect. However attractive large motifs or bright colours look when you are flicking through a pattern book, remember these can be overbearing in small rooms. Certain designs will show up faults in the structure of the room. If the ceiling slopes, the motifs in a set or drop pattern will gradually disappear along the ceiling line. This also applies to papering ceilings : if they are not perfect squares or rectangles the pattern will run out of true. Unfortunately it is not easy to check ceiling line irregularities; they usually become apparent only when the wallpaper is hung.
Vertical stripes will emphasize corners that are out of square, so you should always check these before buying this type of pattern. Suspend a plumb bob and string line from a small nail fixed as high up the wall as possible the string line will hang down at a true vertical and you will be able to see if the corner is square. Check the condition of your wall surface. If it is undulating or pitted, don’t buy a striped paper as this will only emphasize the defects; go for a busy, colourful pattern that will hide the faults. There is obviously a lot to recommend a free match paper. It is the simplest to hang, there is no wastage and it can disguise many structural defects.