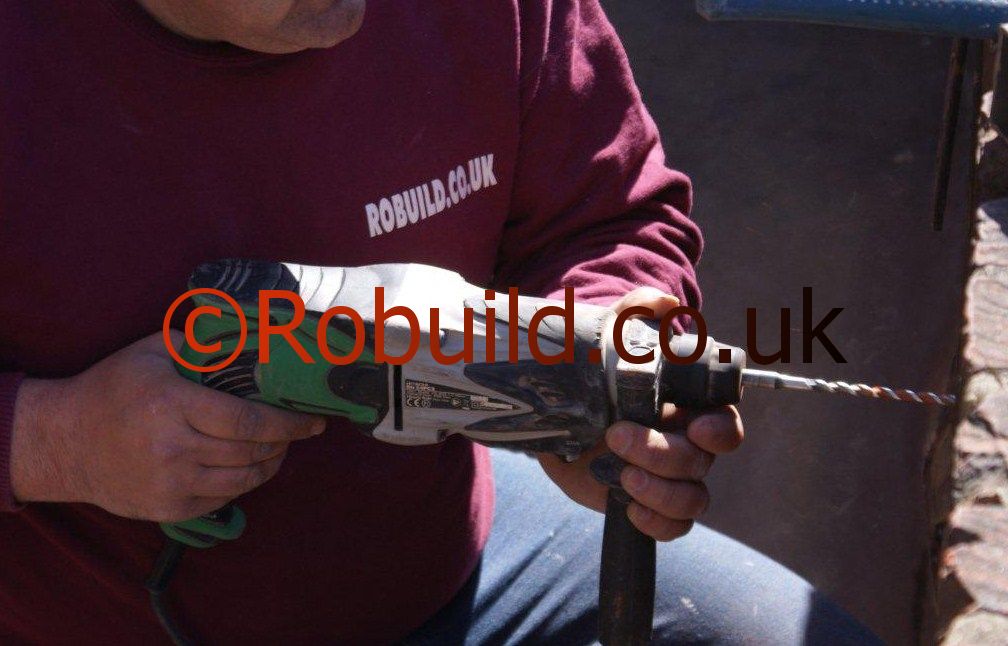
Drilling techniques can vary.

Whatever you are drilling, the position of the hole should be clearly marked before you start. and a small indentation made in the work piece with a centre punch (or, at a pinch, nail punch or big nail), to stop the drill from wandering in the first few seconds of work. Clamp the work piece down securely, or it may start to revolve. It is essential that the drill should be at right angles to the surface to be drilled. You can line it up with a try square before you start though of course the drill always tilts a bit once you start drilling. Simple drill guides are made that hold the drill at right angles to any fat surface. Or you can buy a drill stand, which holds the drill vertical on a frame. The drill can be moved up and down by a lever. The work piece is placed underneath on the base of the stand. Drill bits should be prevented from overheating through friction.
If they become too hot, the metal loses its ‘temper’ and becomes soft. This is a particular problem with ordinary carbon steel twist bits. Special ‘highspeed’steel bits, made for drilling hard metals, are more resistant-but also more expensive. Masonry bits are very prone to overheating. When drilling wood with a twist bit, remove it occasionally to check that the spirals are not clogged with wood dust, which can lead to overheating. When drilling any metal other than brass or cast iron, lubricate the drill bit frequently to cool. When drilling glass, make a small pool of lubricant around the hole in a plasticine ring. Thin metal should be clamped to a wood backing when being drilled to reduce distortion and keep the drill from jamming as it breaks through to the other side. A piece of thin sheet metal revolving with a drill is extremely dangerous.
