Lintels and RSJ metal beams
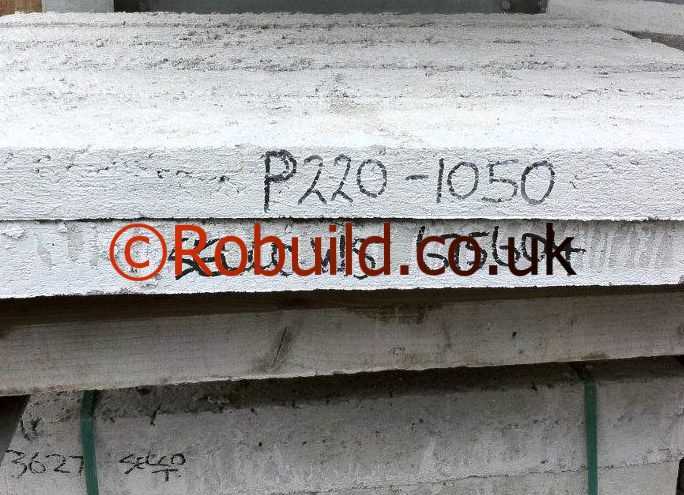
Once you have determined the function of your wall, a Structural Engineer should consider the type and size of the lintel you may have to use, and the way in which it is to be supported. Various materials can be used for lintels, namely wood, steel and concrete (either prestressed or reinforced). For most knocking through operations within the home, however, the steel lintel, known as an rsj (rolled steel joist), is the one best suited. Although it is heavier than some other types, it is particularly strong and also relatively small in size. Steel lintels can be obtained in either ‘H’ section or ‘U’ (channel) section. They can sometimes be bought second-hand from a demolition yard, but take care to buy one in good condition-a badly rusted one will not be suitable.

The correct size of lintel is crucial. It must be adequate to support the weight, but the dimensions must be such that it can be properly supported at either side of the opening. Two methods can be used for this support. You can either leave some of the wall in place on either side of the opening (often necessary if a folding partition is to be fitted) and rest the lintel on these ‘pillars’ or, in some cases, fit the ends of the lintel into the adjacent walls. Note however that your local authority may not permit you to fit the lintel into a party wall dividing two houses. If the lintel is supported by an external wall running at right angles to it, the end of the lintel must be supported on the inner wall if it is a cavity wall, and halfway into the wall if it is a double brick solid wall. Where a whole wall has to be supported (in the room upstairs, for example), the width of the lintel must be the same as the width of the wall to provide the necessary support.

For example, a 115mm thick brick wall will require a 115mm wide lintel. If the outer edges of the wall are left to support the lintel, the length of bearing surface must never be less than the width of the lintel and, preferably, should be slightly more. For example, a 150mm long surface at each end of a ll5mm lintel will provide a margin of safety; a 100mm one will not. It is essential that these supports are strong enough, and your building inspector may insist that they are rebuilt with hard brick. Once the width of the lintel is established, the depth required to give it sufficient strength must be calculated. The load to be imposed on the lintel, and the depth of the lintel needed to support it, depend on so many things-whether there is a wall above, how your roof is supported, how thick the wall is and so on-so you will need expert advice.
Your building inspector may be able to help by quoting from standard tables. However, you will need to give him every possible scrap of information about the dimensions and materials of both your room and its walls, and everything above them, otherwise you will have to consult a Structural engineer.
Supporting the structure
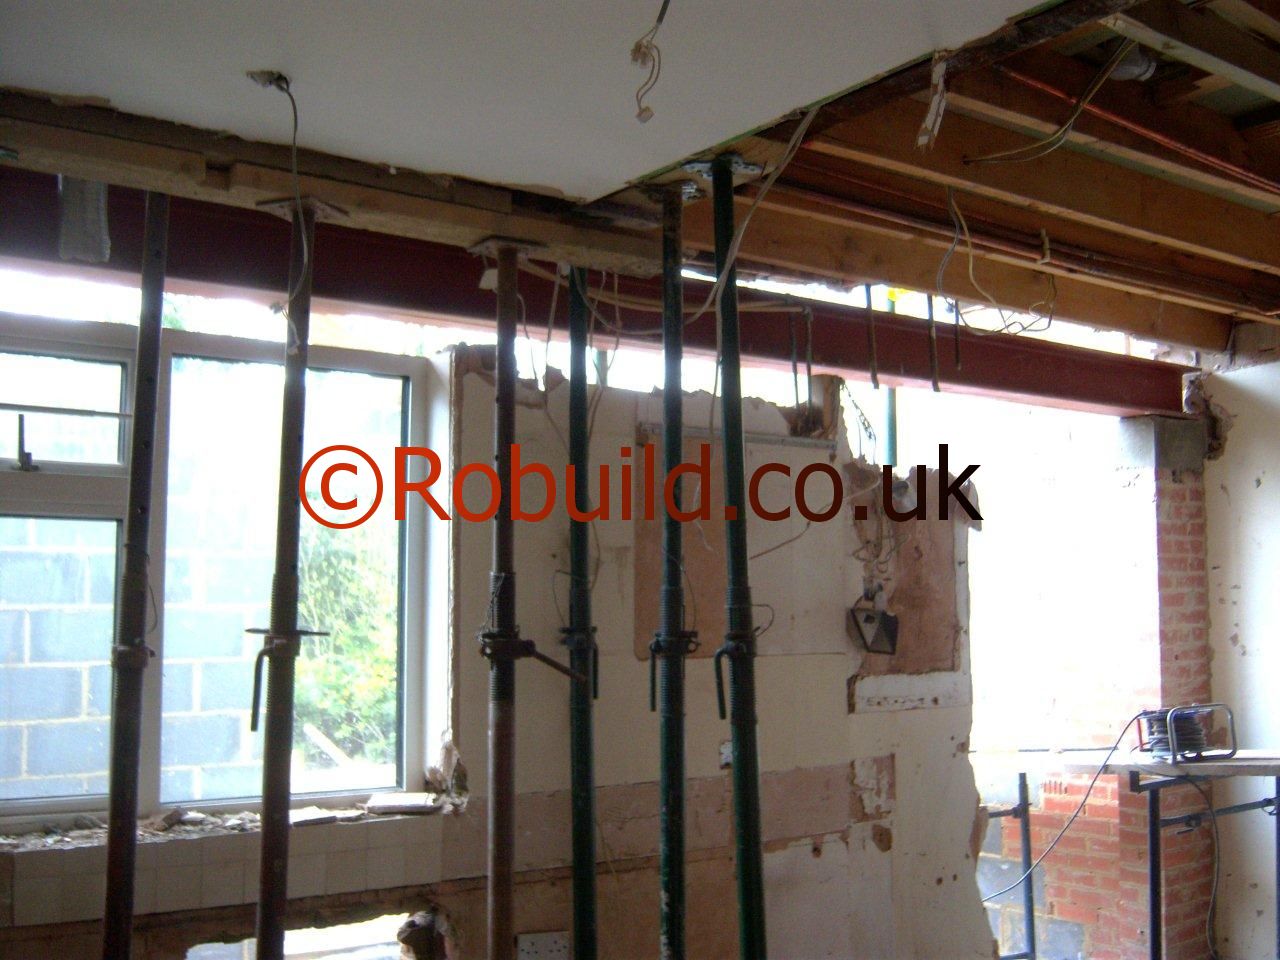
Once your plans have been passed, work can start. The first job is to ensure that the floor and wall, if any, above the opening will be properly supported while you cut away the masonry and insert the lintel. A combination of special adjustable steel props and timber planks can be used. Their arrangement will depend upon the type of load-bearing wall you are removing.

Before fixing the supports, however, there is one point to watch. If the opening is to be a wide one, and consequently a long lintel is being used, it may be necessary to lay it at the foot of the wall before you erect your support structure. It will not be possible to start removing struts to enable the lintel to be placed in position once the opening has been made. In the majority of cases where the ceiling joists run across the wall, whether the wall carries on through into the upper room or not, both sides of the ceiling have to be supported if you intend to position the lintel flush with the ceiling. To support the ceiling, a line of struts,or steel props, have to be placed every 122cm apart and a minimum of 6lcm away from each side of the wall.

The load they carry needs to be evenly transferred to the floor, so stout planks should be positioned at the bottom and the top of the supports. These should be about 76mm thick by 153mm or 203mm wide and run the complete width of the room. Placing supports on suspended – hallow floors needs special care. In cases where the joists run at right angles to the wall, the base plank can be laid at any convenient position across them. But if the joists run parallel to the wall, ensure that the base plank is placed centrally over one of the joists. This, of course, applies only to hollow floors in sound condition.

If you doubt that your floor can carry the weight, you will have to remove some of the floorboards and take the struts right down to the sub-floor. It is essential that these supports replace the strength of the wall, and it will probably be necessary, if timber struts are used, to insert wooden wedges at the bottom of the struts to ensure that they carry the weight properly. It is safer to cut too much off the struts and to use wedges than to have the struts too long and angled out of plumb. These wedges are known as ‘folding wedges’, and two are used at the base of each strut.
Each pair is made from one piece of 100mm x 50mm timber about 300mm long. This should be cut diagonally through the narrow side, allowing at least 13mm at the thin end for strength, so that identical wedges 100mm wide are produced. To fit them, the strut should be cut slightly less than 50mm shorter than the gap between the bottom and top planks, and the wedges should be driven in from opposite sides of the strut. Make sure that they are the right way round, so that the top and bottom surfaces are parallel. If wood struts are used, cross-bracing should be nailed to them after they have been placed in position. Where joists run parallel to the wall, and the wall is continued in the upper storey, a different method of support is used.
In this case, attempting to support the floor alone would result in the collapse of the upper wall when the downstairs wall was removed. It is the wall itself that needs to be supported. This is done by inserting timber needles through the wall and then transferring the load to temporary vertical supports. These needles should be about 153cm long and have a minimum size of l00mm x 75mm. They should be spaced about 3ft to 4ft apart, with one at either end of the wall. This method involves some extra work, but the arrangement of the wall and joists enables you, in many cases, to bury the lintel in the ceiling.
Start by removing the skirting on either side of the upstairs wall. Then use a club hammer and cold chisel to remove a brick, or to cut a hole in a building block, to correspond with the proposed position of each of the needles. Insert the needles and pack out any gaps left between the needles and the wall with wooden wedges, pieces of slate or quarry tile. Then arrange your supports downstairs to transfer the load to the- ground floor. This time, however, the boards at the top of the props will have to be placed at right angles to the wall, using one board to each strut. Make sure that at least two joists beneath the needles are supported.

If you are positioning the lintel lower than ceiling level, and therefore will be keeping some masonry above the opening in the room, support should be provided by needles inserted through the wall immediately above the proposed position of the lintel. Needles must also be used below ceiling level if you have the arrangement where the joists run to the wall, but rest on wall plates or joist hangers and do not pass through the wall. Once you have determined the function of the wall you are removing and erected the correct supports to ensure that nothing above the opening will collapse when the wall is removed, you can start on the actual demolition of the wall.
Demolishing an internal or an external wall is a messy business, and a large amount of masonry will have to be disposed of- First decide on which side of the wall it will be easiest to carry out the bulk of the work on. An important consideration here is the place where you are going to dump the debris. Choose the room that gives the easiest access to this point and if you are going to use a wheelbarrow, try to avoid having to take it through narrow doors nor passages, otherwise you may find yourself with more ‘making good’ than necessary ! It is a good idea to try to contain as much dust and so on as possible in one part of the proposed through room to keep cleaning to a minimum. One of the existing rooms can be effectively ‘isolated’ by hanging large dust sheets from the temporary supports in that room. Also lay sacking or boards over the floor surface to protect it from falling masonry.
Some form of working platform will be essential for much of the work. It is best to use an adjustable scaffold system at least two planks in width. This will also be useful, and in many cases essential when lifting the lintel into position. Never attempt to work off a ladder or pair of steps. As well, you should wear gloves and goggles as protection against splinters.


